Sand Loop Level 397 Solution Walkthrough | Sand Loop 397
How to solve Sand Loop level 397? Get instant solution for Sand Loop 397 with our step by step solution & video walkthrough.
Sand Loop Level 397 Guide: The Neon Glitch Pyramid Puzzle
Sand Loop Level 397 is a visual trip. You aren't painting a cat or a dog this time. You are filling a massive, pixelated triangle that looks like a Neon Glitch Pyramid. It’s a pure logic level. Speed won’t save you here. If you tap like a maniac, you’ll jam your Supply Tray and end up with a "No Moves" screen before the pyramid is even half-full.
This level is a test of your ability to manage a very tight 5-Slot Capacity. The puzzle starts with a mostly empty canvas, and you have to build the pyramid from the inside out. The palette is aggressive. You’re dealing with high-contrast colors that bleed into each other if your timing is off. Sand Loop 397 demands respect for the Conveyor Belt lag. If you don't account for the distance between the tray and the Sand Dispensers, you’ll waste half a cup on the floor.
Sand Loop Level 397 Solution: The Trippy Triangle
The art in Sand Loop Level 397 is a geometric nightmare. Look at the top of the screen. You have a central yellow core shaped like a diamond. Surrounding that are jagged "wings" of Magenta and Cyan. The very bottom corners are a chaotic mix of Green and Orange.
Color Palette Deep Dive
The color requirements for Sand Loop 397 are specific:
- Yellow: This is your primary fill for the center. It’s the most used color.
- Magenta (Pink): Used for the heavy outline and the upper-middle sections.
- Cyan (Light Blue): Fills the right-side interior and some top-left accents.
- Green: Primarily sits at the base.
- Dark Blue: Used for the thin shading on the right "wing."
- Orange: Only appears at the very bottom corners.
The Danger Zones
The real danger in Sand Loop 397 is the apex of the pyramid. There are tiny, single-pixel dots of Magenta and Cyan right at the top. If you send a full cup through when only 2% of the color is needed, you’re wasting time. Even worse, the Green and Orange sections at the bottom are checkered. This means you need to alternate cups quickly. If you send two Green Cups in a row, the second one might just sit on the belt with nowhere to pour, blocking the Orange sand you actually need.
Fill Order Prediction
Don’t touch the background until the center is done. In Sand Loop 397, you should prioritize the Yellow and Magenta core. The game tracks percentage completion for each color. Focus on getting the Yellow dispenser to 100% first. It stabilizes the image. Once the center is solid, the edges (Green and Orange) become much easier to aim for without the risk of contaminating the "clean" parts of the pyramid.
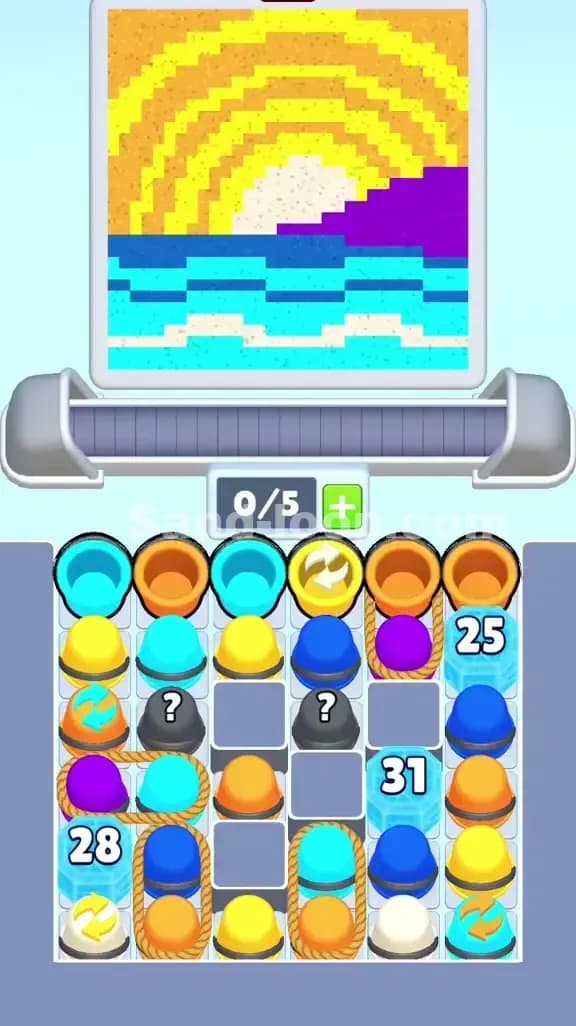
Tackling the Center Column in Sand Loop Level 397
The biggest headache in Sand Loop Level 397 is the Supply Tray layout. Look at the middle. You have a vertical stack of three Green Cups. They are holding the entire level hostage. Behind them, at the very bottom of the tray, are two Yellow Cups.
You cannot finish the center of the pyramid without those Yellow Cups. This means you are forced to deal with the Green Cups first, even if the pyramid isn't ready for green sand yet. This is a classic Sand Loop trap. If you move all three Green Cups to the Conveyor Belt at once, you’ll hit your 4/5 Capacity or 5/5 Capacity limit instantly.
The Recycle Cup in the top right is your escape hatch. It has yellow circular arrows on it. This cup is a "wildcard" that helps clear the path. Use it to unblock the right side of the tray so you can reach the Dark Blue and Magenta cups tucked in the corners.
Sand Loop Level 397 Step-by-Step Walkthrough
Follow this sequence or you will deadlock. I’ve seen people get stuck with a tray full of Yellow and no way to move them because the Green stack is still there.
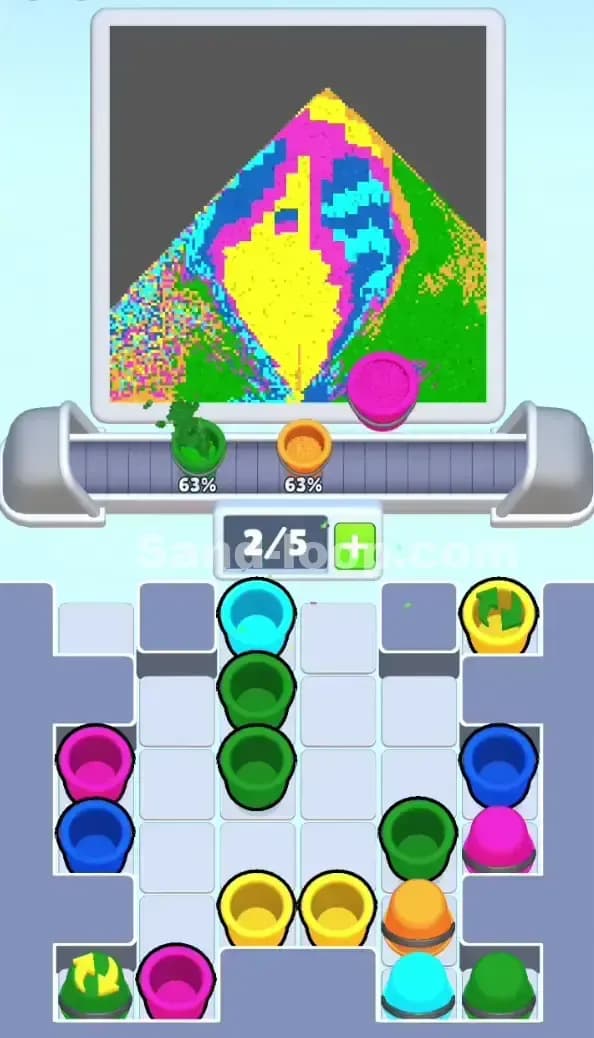
Clearing the Cyan Lead
Your first move in Sand Loop Level 397 must be the lone Cyan Cup at the top center. It’s the only one that isn't blocking something else important. Send it up. Let it fill. While it’s pouring, look at the left side. You have a Magenta Cup sitting on top of a Dark Blue Cup. Tap the Magenta Cup next.
By the time the Cyan is done, the Magenta will be under the dispenser. This clears your first two slots and gives you room to breathe. Do not touch the center green stack yet. You need those two empty slots to shuffle the side cups.
Navigating the Central Green Stack
Now for the hard part. Tap the top Green Cup in the center column. It’s going to move to the belt. Immediately after, tap the Recycle Cup on the right (the one with the arrows). Why? Because you need to clear the right-side alley.
Once the first Green Cup is on the belt, the second one becomes available. Do NOT tap it yet. Wait for the first one to pass the dispensers. If you have 3/5 slots filled, you are in the "Yellow Zone." If you hit 4/5, you are one mistake away from a restart.
In Sand Loop 397, you have to "buffer" your moves. Send a Green Cup, wait for it to reach 50% pour, then tap the next one. This keeps the belt moving without hitting the capacity cap. Once the three Green Cups are gone, the two Yellow Cups at the bottom are finally free. Grab them immediately. They are the key to finishing the bulk of the pyramid.
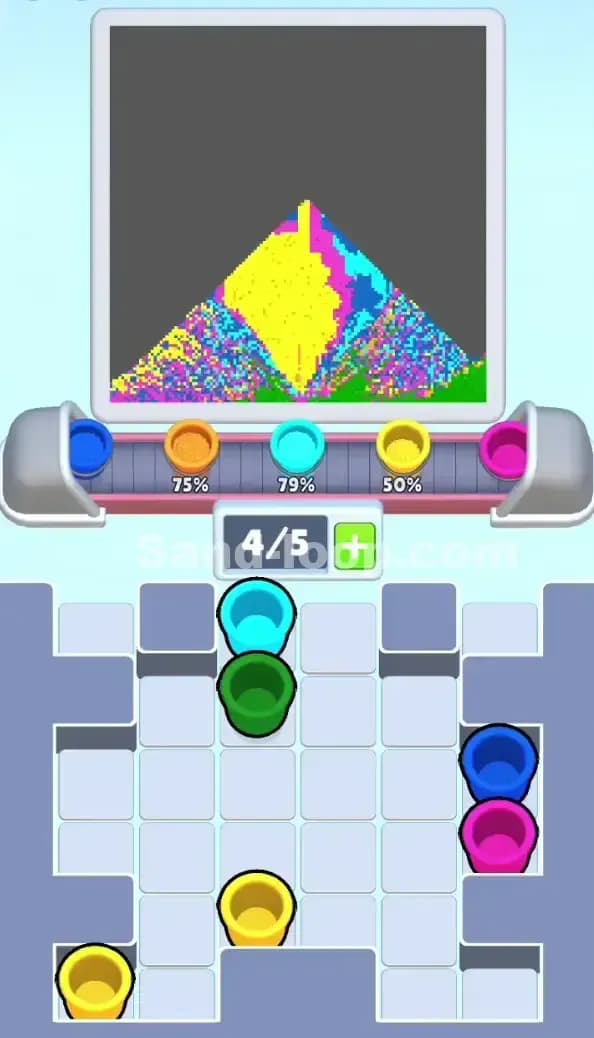
Filling the Base and Background
The final stretch of Sand Loop 397 involves the bottom-row colors. You’ll have a Yellow Recycle Cup in the bottom left and a Cyan and Green cup in the bottom right.
The Yellow Recycle Cup is a lifesaver. Use it if you accidentally pulled a Dark Blue cup that you don't need yet. The belt speed stays constant, but the dispensers for the base colors (Green/Orange) seem to pour a bit faster.
- Send the Yellow Cups to finish the pyramid core.
- Clear the Orange Cup to hit those bottom corners.
- Use the final Cyan and Dark Blue cups to sharpen the edges.
- If the belt is full, just wait. The biggest mistake in Sand Loop Level 397 is panic-tapping when the capacity is at 4/5.
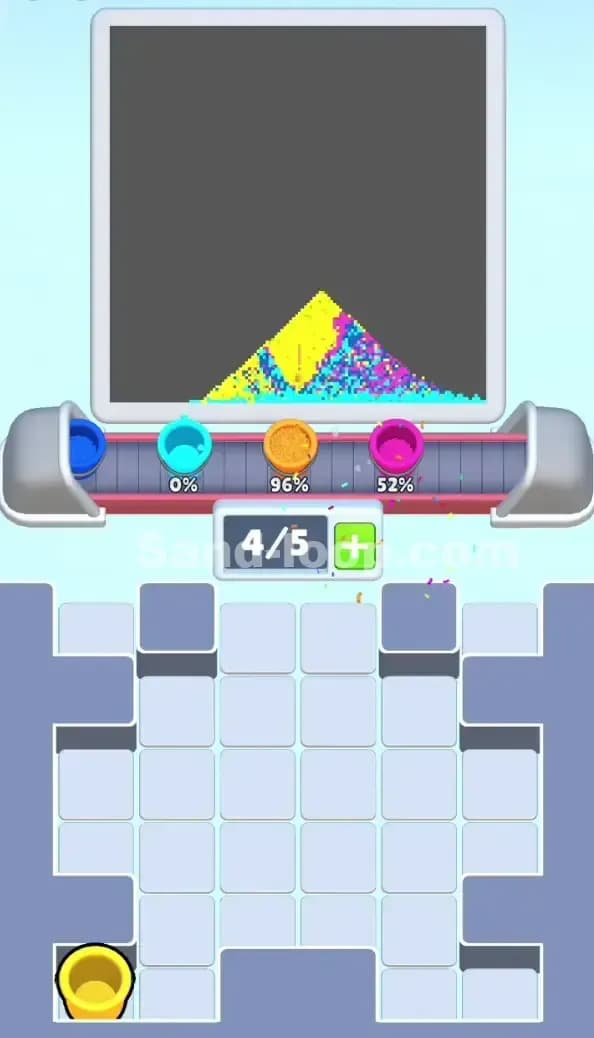
The pyramid is finished once the Magenta outline meets the Green base. If you kept your slots open, the "Level Complete" confetti will pop the second that last grain of yellow sand hits the center. Clean. Fast. Done. On to 398.