Sand Loop Level 412 Solution Walkthrough | Sand Loop 412
How to solve Sand Loop level 412? Get instant solution for Sand Loop 412 with our step by step solution & video walkthrough.

Sand Loop Level 412 Guide: The Shiba Inu Scarf Puzzle
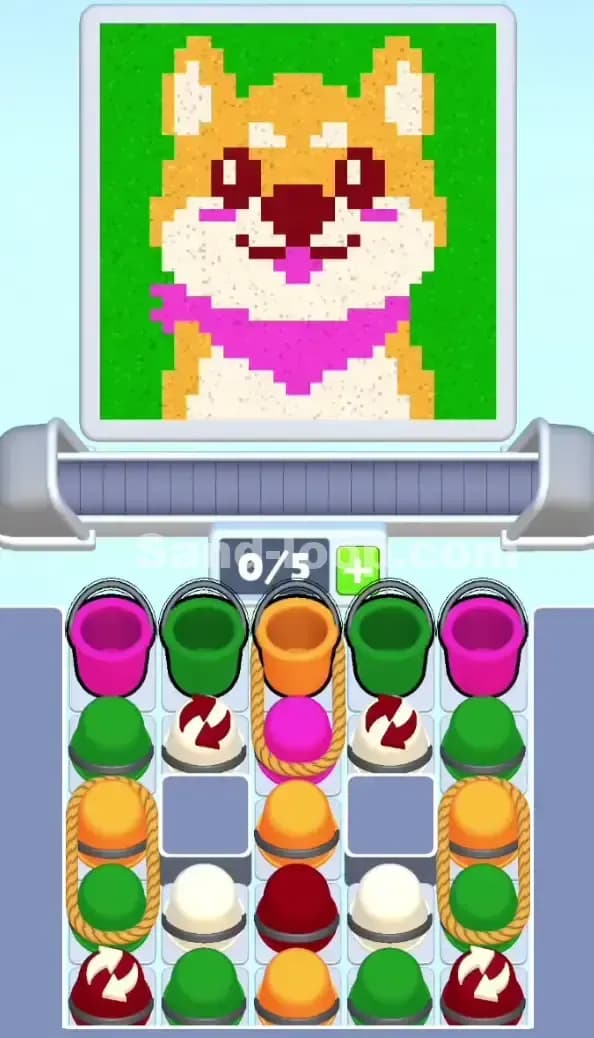
Sand Loop Level 412 features a pixel art recreation of a Shiba Inu dog wearing a bright pink bandana. This isn't just a basic color-fill level. It’s a logic puzzle hidden behind a cute face. You’re looking at a Logic level where the supply tray is heavily restricted by ropes and static obstacles. If you just tap whatever is available, you will deadlock your supply tray within thirty seconds.
The color palette here is distinct. You have a massive Green background that takes up the corners and the top. The dog itself is composed of Orange (or Tan) for the outer fur, White for the muzzle and chest, and Pink for that iconic bandana, the tongue, and those little blush spots on the cheeks. Finally, Dark Red handles the high-contrast details: the eyes, the nose, and the mouth line.
Sand Loop Level 412 Solution: The Shiba Inu
The top screen shows a Shiba Inu centered against a solid green backdrop. This image is deceptive. While the green background is the largest area to fill, it is actually your biggest trap. Many players spam the Green Cups early because they are easy to see in the tray. Don't do that.
Color Palette Deep Dive
- Green: This is your filler. Use it to keep the conveyor moving, but never fill your slots with it.
- Orange/Tan: This defines the ears and the outer face. You need a steady stream of these to build the "frame" of the dog.
- White: This is the "mask." It’s a huge block in the center.
- Pink: Used for the bandana (bottom center) and the tiny cheek details. Timing is everything here because the bandana is a large block, but the cheeks are single-pixel bursts.
- Dark Red: The smallest surface area but the highest priority for completion. If you miss the eyes, the level won't finish.
The "Danger Zones"
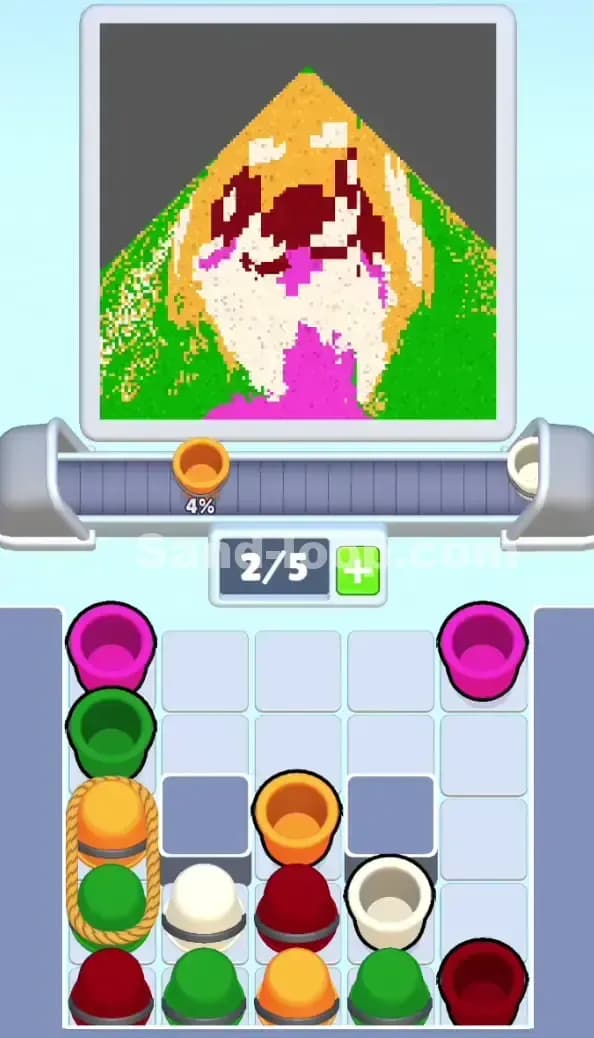
The most dangerous part of Sand Loop 412 is the bandana-tongue intersection. The pink sand has to cover the bandana across the bottom, but the dark red mouth line sits right above it. If you over-pour the pink, you might bleed into the mouth area. Also, watch the ears. The tips are orange, but they are surrounded by green. A sloppy pour here ruins the silhouette.
Fill Order Prediction
Focus on the White and Orange sections first. These create the core of the image. The Green background should be your secondary focus, used mainly when you have no other choice but to clear a slot in your tray. Leave the Dark Red for mid-level once the facial structure is visible so you don't waste the sand on empty pixels.
Tackling the Rope Constraints in Sand Loop Level 412
The real challenge in Sand Loop 412 is the supply tray. You have three sets of Ropes and two Grey Blocks that act as permanent walls.
The Center Rope is your first hurdle. It binds an Orange Cup to a Pink Cup directly below it. You cannot access that pink cup—which you need for the bandana—until the orange one is cleared.
The Side Ropes are even nastier. On the far left and far right columns, the 3rd and 4th row cups are tied together. This means the Green and Orange supply on the edges is locked behind a two-step process. You have to clear the top cup of the rope to even see what’s underneath.
The Grey Blocks sit in columns 2 and 4, row 3. They are dead space. They do nothing but limit your movement and hide the cups in the bottom row. You have to play around them. This level only gives you 5 Slots. That is a tight squeeze. Keep 1 or 2 slots empty at all times. If you fill all 5 slots with colors you don't currently need, you're done. Restart.
Sand Loop Level 412 Step-by-Step Walkthrough
The dependency chain in Sand Loop 412 is: Clear top loose cups -> Break Center Rope -> Manage Side Ropes -> Access Bottom Row Red.
Clearing the Top Row and Center Rope
- Start by tapping the two Pink Cups on the top left and top right corners. These are loose and easy to clear. Use them on the bandana area immediately.
- Next, hit the Green Cups in the second and fourth positions of the top row. Use these for the background.
- Now, the Center Orange Cup is exposed. Tap it. This is roped to a pink one. Once the orange cup moves to the conveyor, the pink one moves up.
- Wait. Do not tap that pink cup yet if your conveyor is full. Let the orange sand finish pouring.
Navigating the Swap Cup Trap
In the second row, you’ll see cups with Circular Swap Arrows. These are your Dark Red cups for the eyes and nose.
- These cups are vital. As soon as a slot opens, pull one of these Dark Red Swap Cups.
- The timing on these is tighter than the larger buckets. You need to tap them about a half-second earlier than you think. The sand bursts are shorter.
- Target the eyes first. The nose is a bigger target and easier to hit later, but the eyes are tiny. If you miss the eyes, you’ll be waiting for the tray to cycle back through all those ropes just to get another red cup.
Filling the Green Background
The Green sand is your "utility" color in Sand Loop 412.
- Notice the Side Ropes on the far left and right. The top cups in these ropes are Green.
- Only pull these when the dog's face is about 40% done.
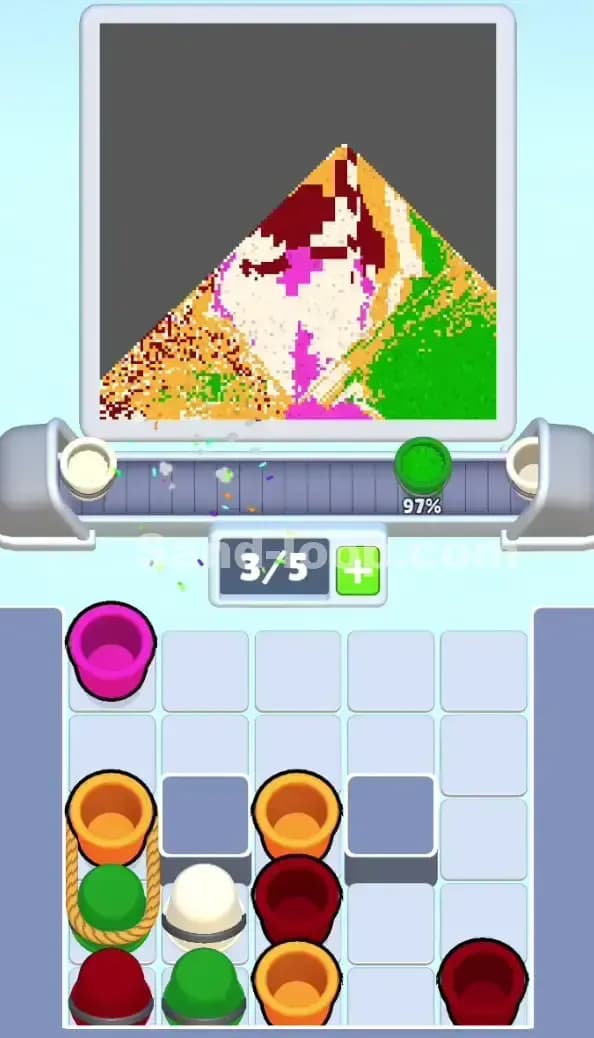
- By the time you reach the bottom row of the tray, you’ll find White Cups hidden under the Grey Blocks. You must clear the columns adjacent to the blocks to shift the bottom row into view.
- The final 10% of the level usually comes down to the green background. Don't panic if you see small grey spots in the corners. The conveyor will keep cycling.
- Keep your eyes on the Total Capacity (0/5). If you see it hit 4/5, stop tapping. Let the conveyor clear. A clogged belt is the #1 reason players fail Sand Loop 412.
Focus on the ropes. Free the center. Watch the red swaps. Do that, and the Shiba Inu is yours.