Sand Loop Level 473 Solution Walkthrough | Sand Loop 473
How to solve Sand Loop level 473? Get instant solution for Sand Loop 473 with our step by step solution & video walkthrough.
Sand Loop Level 473 Guide: The Tropical Parrot Puzzle
Sand Loop Level 473 is a strict logic puzzle masquerading as a relaxing art project. You are assembling a brightly colored tropical parrot on a branch. This is not a speed run. This is a sequence-breaking key puzzle. You make one wrong tap on the lower tray, and you will deadlock your five-slot capacity instantly.
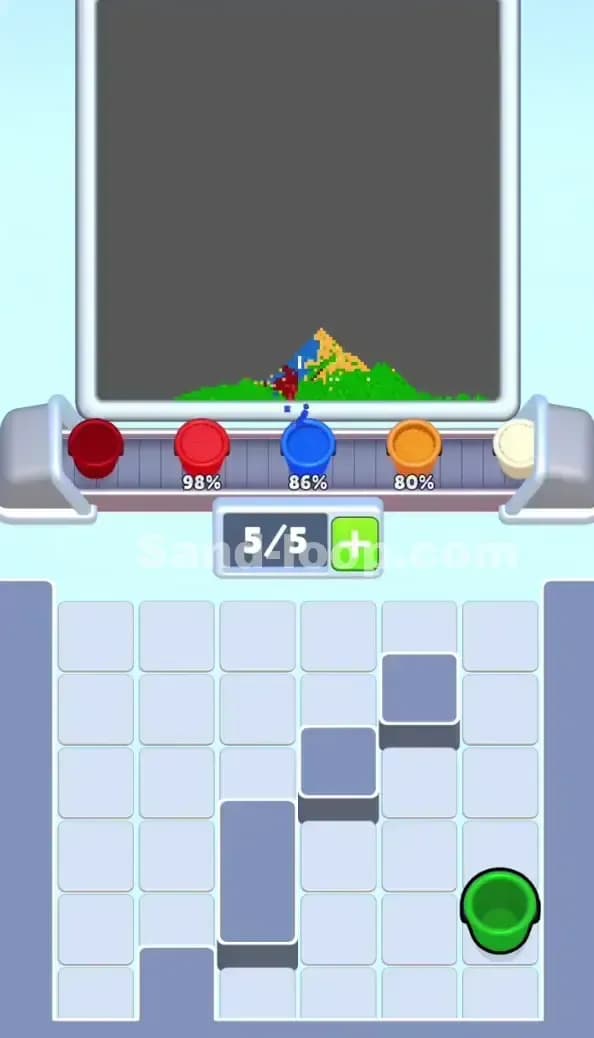
The color palette is distinct but tricky. You are working with a golden-orange body, a bright green wing, dark crimson branches, blue foliage accents, and an off-white cream background. The grid below is an absolute minefield. You have hidden cups, roped cups, a locked column, a target-number box, and recycle-arrow cups. You need perfect spatial awareness to beat this.
Sand Loop Level 473 Solution: Golden Bird, Crimson Branches
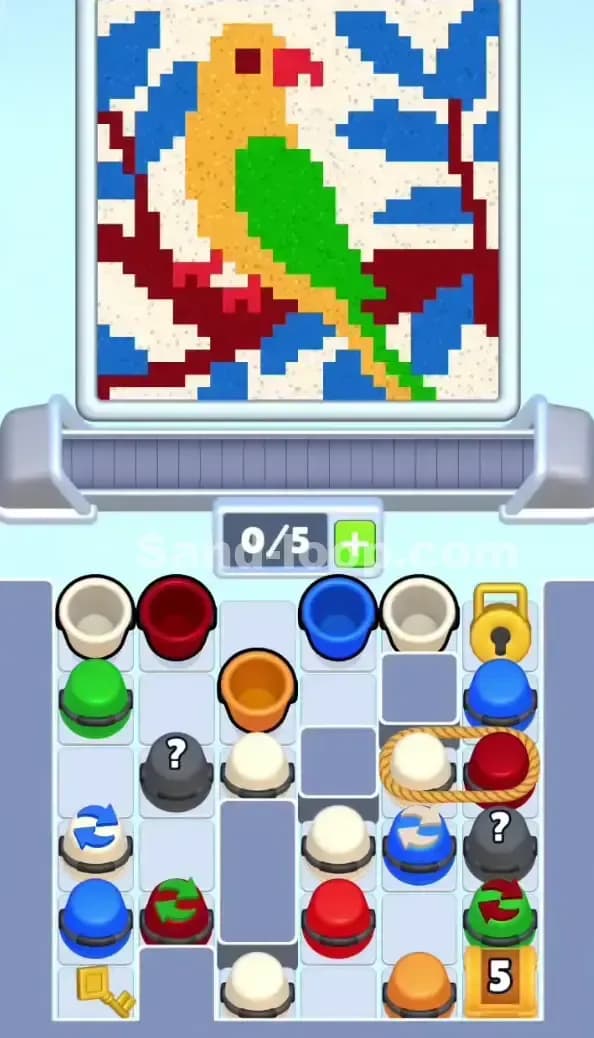
Look straight at the top canvas. The pixel art dictates your entire strategy.
This level relies heavily on large blocks of golden-orange and green for the main bird figure, framed by jagged crimson branches. The background is an off-white cream intertwined with heavy blue leaves.
The Danger Zones are the tiny, specific details. The parrot’s dark crimson beak and tiny red feet are highly vulnerable to contamination. If you dump too much golden-orange or white sand too early, it will avalanche over the pixels meant for the feet. You lose the sharp lines. The puzzle fails. You must pour the base foundation first.
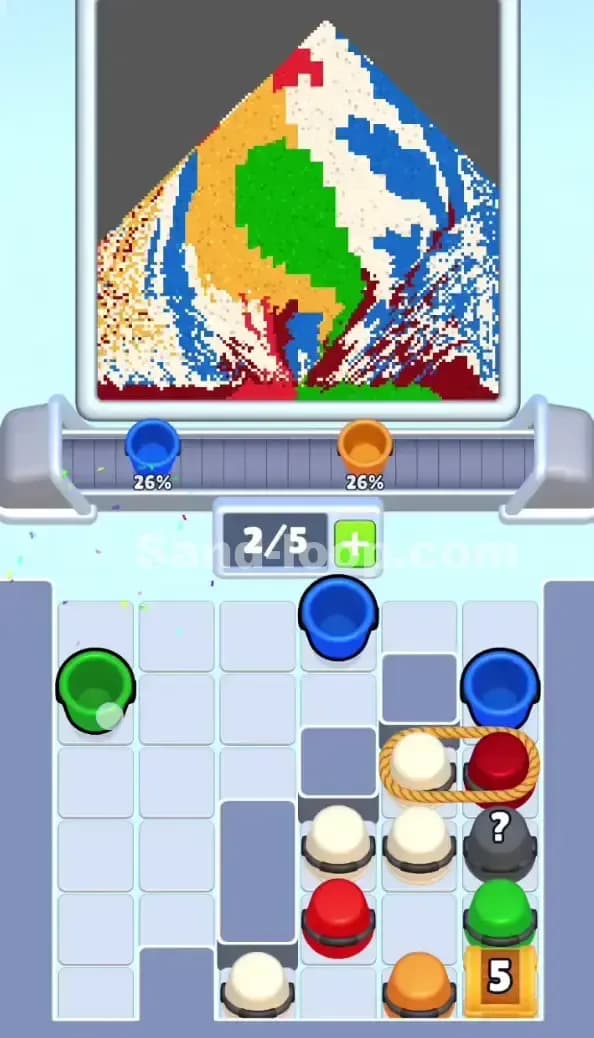
Predicting the fill order is your path to winning Sand Loop 473. The massive golden-orange body needs to drop first to create the central pyramid of sand. Follow this immediately with the green wing. The crimson branches should come right after, locking the bird into place. Save the blue leaves and the off-white background cups for the final cleanup phase.
Tackling the Roped Trap and Buried Key in Sand Loop Level 473
The bottom tray in Sand Loop Level 473 is chaotic. Look at the lower right quadrant. You have a thick brown rope physically tying an off-white cup to a crimson cup.
Roped cups are massive liabilities. When you tap one, both cups shoot up to the conveyor belt simultaneously. Your capacity at the top is exactly five slots. Pulling a roped pair instantly burns two of those slots. If you only have one slot open and you tap a roped cup, the game rejects the move. You get stuck.
Now look at the bottom left corner. The golden key. It sits at the very bottom of the first column. You need this key to open the golden lock sitting at the top of the sixth column. But the key is completely buried. You have standard blue and green cups sitting on top of recycle-arrow cups directly above it.
You cannot touch the right side of the board until you free that key. The golden lock paralyzes the entire right-side supply chain. The hidden '?' cups and the orange '5' box at the bottom right are completely inaccessible until you sequence through the left side.
Sand Loop Level 473 Step-by-Step Walkthrough
Your entire strategy depends on a strict dependency chain. Left side clears first. Key unlocks the right. Ropes get triggered. Background finishes last.
Clearing the Bottom Left Key
You must ignore the roped cups and the hidden '?' cups initially. Focus entirely on the far-left columns to dig out that golden key.
Start with the top-left cups. Send the standard white and crimson cups up to the belt. You have a five-slot limit. Watch it closely. Next, tap the green cup in the first column. This exposes the blue recycle-arrow cup.
Send the orange cup from the middle column to start building the parrot’s head. This frees up grid space. Now grab the blue cup on the far left. You are finally touching the golden key. Tap the key. It flies up to the lock on the top right.
The lock shatters. Column six is now in play.
Navigating the Roped Trap and Hidden Cups
Once the key turns, the right side of the board becomes your primary problem. You are staring down the roped white and crimson cups.
Check your slot economy. You need exactly two empty slots on the conveyor belt before you touch that rope. Wait for the current sand pour to finish and clear out. Tap the roped pair. Both cups launch to the belt.
Directly below where the roped cups used to sit, you have a hidden '?' cup. These are blind draws. You do not know what color is inside until it flips. Never tap a '?' cup unless you have at least two empty slots up top. If it reveals a color you don't need yet, it just sits there burning a slot. Tap the '?' cup now. Route whatever color it reveals.
You also need to manage the orange '5' box sitting in the bottom right corner. You clear this by matching adjacent cups or sending the required colors to the belt. Feed the required cups from the middle columns to chip that number down to zero.
Filling the Cream Background
The off-white cream background is the easy part, but ensure you don't use up your blue cups on the foliage too early.
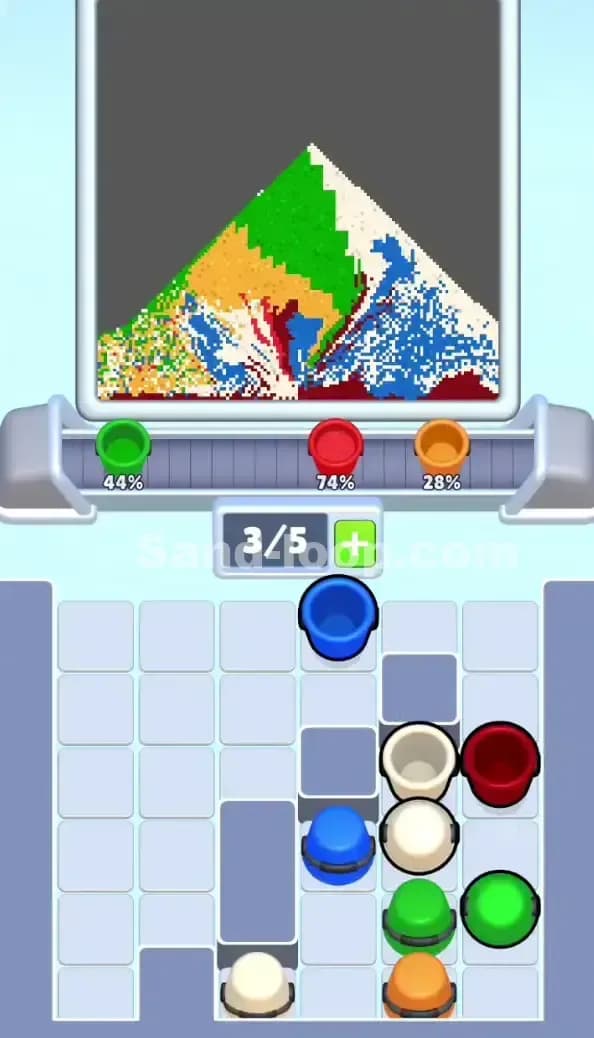
By this point in Sand Loop 473, your parrot is mostly complete. The golden body is set. The green wing is filled. You are looking at a messy board of remaining blue and off-white cups.
Send the blue cups first. The jagged blue leaves need to settle into the crevices around the crimson branches. If you drop the off-white sand first, it will fill those gaps and the blue sand will bounce right off the canvas, ruining the pattern.
Route the blue cups. Watch the sand fill the leaf patterns. Finally, spam the remaining off-white cups. Keep your slot limit in mind, but the order matters less now. The off-white sand will flood the remaining empty space, perfectly framing the parrot and finishing the level.