Sand Loop Level 352 Solution Walkthrough | Sand Loop 352
How to solve Sand Loop level 352? Get instant solution for Sand Loop 352 with our step by step solution & video walkthrough.


Sand Loop Level 352 Guide: The Beach Ball Puzzle
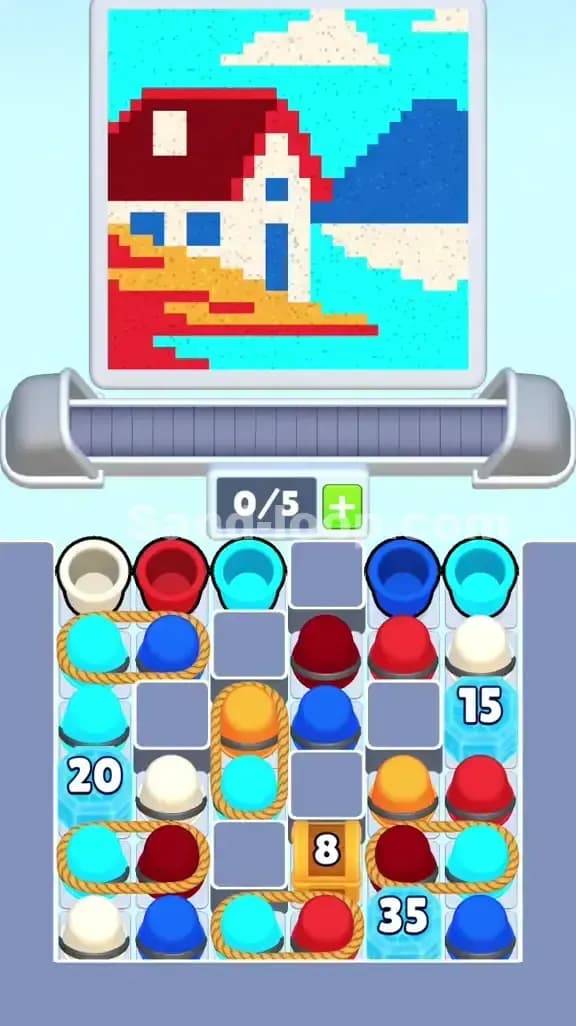
Welcome to the beach. Sand Loop Level 352 features a classic Red and White Beach Ball sitting on yellow sand, set against a blue sky with cyan streaks. It’s a vibrant, summery image, but don’t let the bright colors fool you. This isn’t a pure speed level like the ice-breaking rounds. It is a logic puzzle that relies heavily on "color swapping" mechanics and managing a very cluttered tray.
You are working with a 5-slot conveyor belt capacity. That sounds generous, but the tray is packed with Obstacle Blocks (the gray cubes) and Rope-tied cups that restrict your flow. The real challenge here is the Mystery Boxes and Color Swap Cups (the ones with the recycle arrows). If you trigger them in the wrong order, you'll end up with a tray full of useless colors and nowhere to dump them.
Sand Loop Level 352 Solution: The Beach Ball Canvas
Let's break down the painting logic for the Beach Ball.
- Color Palette Deep Dive: You have five distinct colors to manage: Red and White for the ball itself, Yellow for the sand at the bottom, Dark Blue for the sky, and Cyan (light blue) for the horizontal detail lines in the background.
- The "Danger Zones": The biggest risk in Sand Loop Level 352 is the Cyan streaks. These are thin horizontal lines in the blue sky. If you pour a Cyan cup while the dispenser is over a Blue section, you waste the paint. Conversely, if you pour Blue while it's over a Cyan line, you contaminate the detail. The bottom "shadow" of the ball also mixes slightly with the yellow sand, requiring precise cut-offs.
- Fill Order Prediction: The game logic prioritizes layers. The Red and White ball is the foreground. Usually, you want to establish the large blocks of the ball first. However, looking at the tray, you have access to Yellow early. Clearing the bottom sand (Yellow) is a safe opening move because it doesn't overlap much with the tricky upper details.
Tackling the Ropes and Swap Cups in Sand Loop Level 352
The specific obstacle that defines Sand Loop Level 352 is the Roped Pair at the bottom and the Color Swap Cups.
Look at the bottom row of the tray. There are cups tied together with rope (Red/Blue and Blue/Yellow). These are dependency traps. You cannot move one without the other, effectively clogging two slots on your conveyor belt for a single action. If you pull a Roped Pair when your conveyor is already holding 4 items, you will jam the machine.
Even trickier are the Color Swap Cups (Cyan with yellow arrows, Blue with orange arrows). These cups change the color of the next cup you tap or interact with in specific ways, or sometimes they cycle their own color. In this level, they act as transformers. You often start with Blue cups but need Cyan paint. These swap cups are your only source for those specific detail colors. If you waste a swap cup on a large fill area (like the main Blue sky), you won't have the right color left for the thin lines.
Sand Loop Level 352 Step-by-Step Walkthrough
This level requires patience. Do not spam tap. You need to clear the gray blocks to access the colors you actually need.
1. Clearing the Top Row Clutter
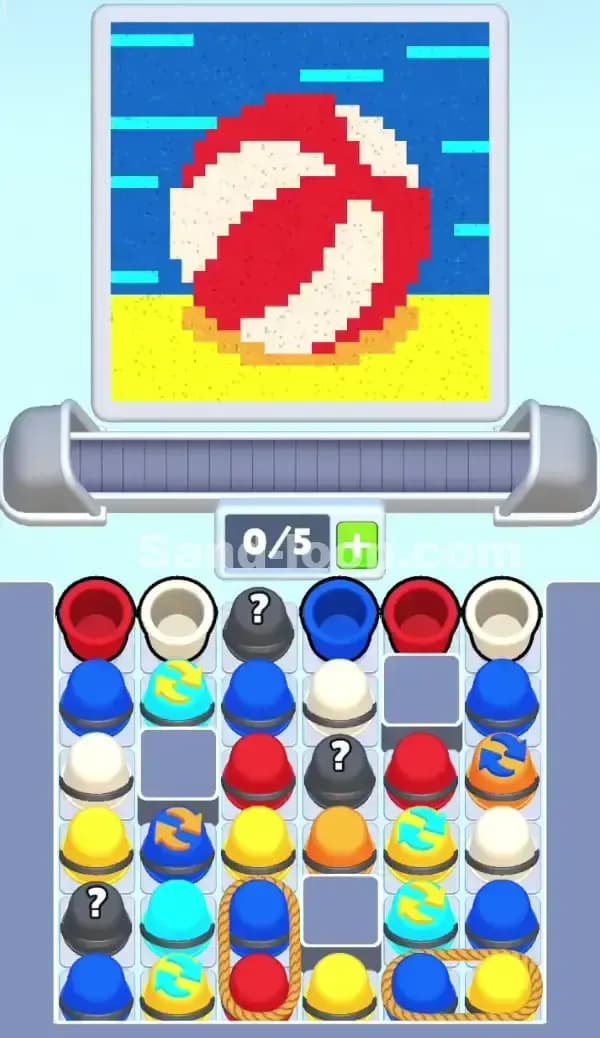
Your tray starts with a mix of Red, White, and Blue on the top row, plus a Gray Mystery Box.
- Start by tapping the Red and White cups on the far left and right. This begins filling the main body of the beach ball.
- Do not tap the Blue cup in the center immediately if the scanner is currently over the ball. Wait for the scanner to move to the background or the bottom sand.
- Tap the Gray Mystery Box early. You need to know what color is inside to plan your next 3 moves. Usually, it hides a necessary color for the background (like Blue or Yellow).
2. Navigating the Roped Pairs
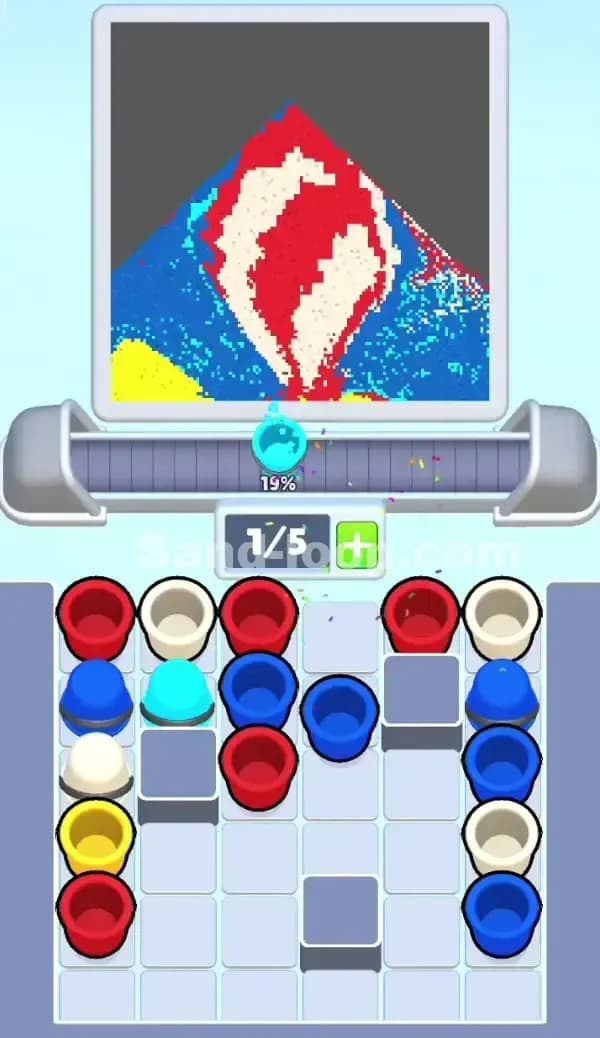
As you clear the top, the Roped Cups at the bottom will become accessible.
- Crucial Rule: Only tap a Roped Pair (e.g., the Red/Blue combo at the bottom left) when you have at least 2 empty slots on your conveyor (0/5 or 1/5 filled). If you are at 3/5 or 4/5, the second cup in the rope won't fit, and the tap will fail or jam.
- The Red/Blue rope is helpful because the Red goes to the ball and the Blue goes to the sky. These are distinct areas. Wait until the scanner is transitioning from the ball to the sky to release this pair.
3. Managing the Cyan Swap Cups
You will see several Cyan Cups with Arrows in the middle rows. These are vital.
- These cups represent the thin horizontal lines in the sky.
- Do not use them for the main sky fill. Use standard Blue cups for the big blue blocks.
- Save the Cyan Swap cups for when the scanner hits those specific thin lines. If you use them too early, you'll be left with standard Blue cups trying to fill Cyan lines, which ruins your percentage.
4. Filling the Yellow Sand
The Yellow cups are mostly buried at the bottom or locked in ropes.
- Once you clear the top layers of Red/White/Blue, prioritize the Yellow cups.
- The bottom of the canvas is a large, solid block of Yellow. This is your "dump" zone. If you have too many cups on the belt and are about to panic, you can often safely dump Yellow (provided the scanner is low enough).
- Be careful near the bottom edge of the ball. The transition from Red/White to Yellow needs to be clean. Stop pouring Red/White immediately once the ball curve ends.
Keep your eye on the swap cups. They are the key to 100% completion on Sand Loop Level 352. Good luck!