Sand Loop Level 16 Solution Walkthrough | Sand Loop 16
How to solve Sand Loop level 16? Get instant solution for Sand Loop 16 with our step by step solution & video walkthrough.


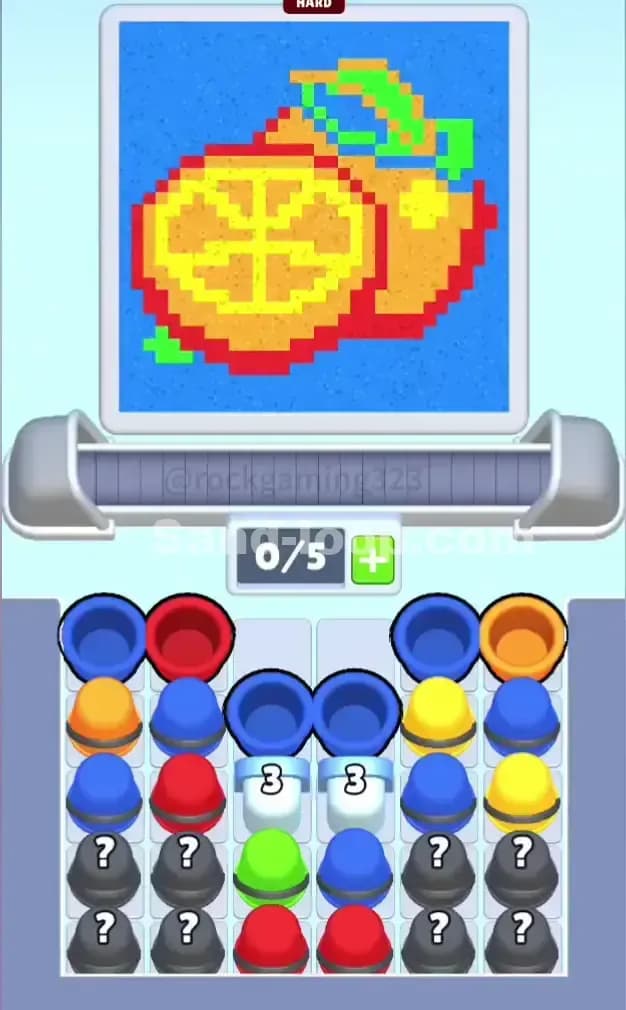
Sand Loop Level 16 Guide: The Watermelon Puzzle
Identify the Art: This is the Watermelon Slice. It’s a deceptive level because while the image looks simple—a big red semicircle—the devil is in the details, specifically the seeds and the rind. Identify the Level Type: This is a Mystery Logic level. Speed matters less here than managing the "Question Mark" cups in the center of the board. The Hook: The color palette is distinct, but the Mystery Cups (the grey ones with question marks) are physically blocked by the cups you need to use first. You are fighting for board space.
Sand Loop Level 16 Solution: The Watermelon
Look at your target canvas. It's not just red and green.
- Dominant Red: The flesh of the watermelon. This takes the most sand volume.
- Yellow/Gold (Background): A huge area. The "Orange" cups on your tray usually hold this yellow sand.
- Green (Rind): The outer curve. Thin line, requires precision.
- Dark Red/Maroon (Seeds & Bottom Edge): These are the run killers. The seeds are tiny pixel dots. If you mistime a pour, you’ll paint over a seed spot with bright red, ruining the perfection rating.
The "Danger Zones": The Seeds. These are single-pixel details scattered inside the red flesh. You need to pour the Dark Red sand exactly when the nozzle is over those specific pixels. If you flood the area with standard Red first, you might block the seeds from being filled correctly later.
Fill Order Prediction:
- Background (Yellow): Safe to fill anytime, usually first to clear the tray.
- Rind (Green/Dark Red): Establishing the border.
- Flesh (Red): The bulk of the work, but risky if poured too aggressively over seed spots.
Tackling the [Mystery Cluster] in Sand Loop Level 16
The specific obstacle here is the 2x2 cluster of Mystery Cups dead center in the tray. Unlike other levels where cups are just scattered, these four grey cups are surrounded. They are physically blocked by the Red cup (top), Dark Red/Green cups (sides), and the Orange cups (bottom).
- The Problem: You don't know what color is inside them, but you can't even move them onto the conveyor until you clear the "guard" cups around them.
- The Strategy: You must aggressively burn through the visible outer cups to "unwrap" the center package. Don't hoard cups. If you see an Orange cup on the edge, send it. You need those center slots open.
Sand Loop Level 16 Step-by-Step Walkthrough
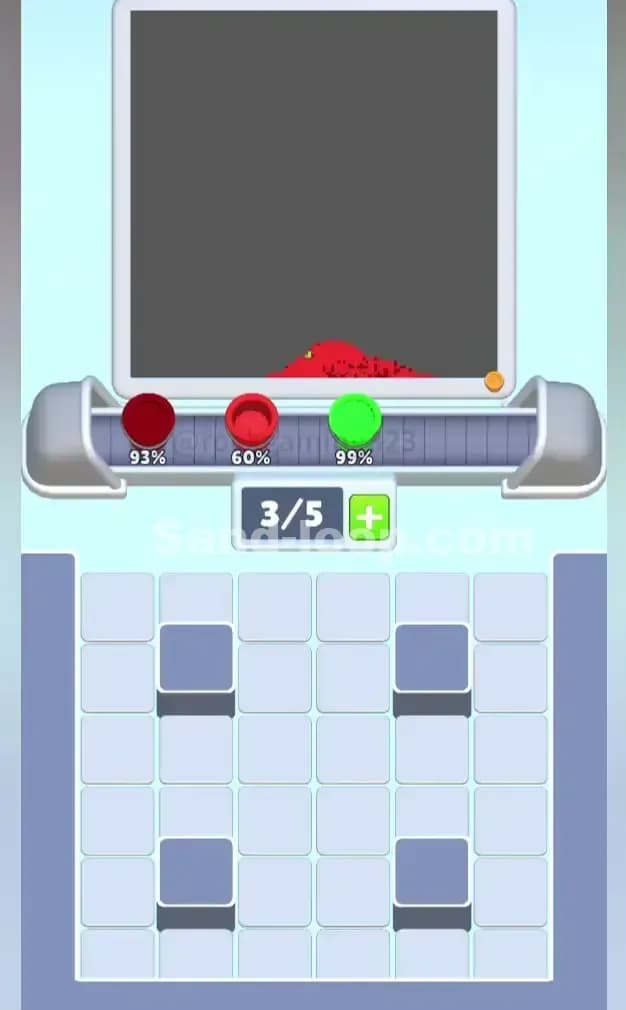
The capacity is tight at 0/5. You need to keep the conveyor moving or you will gridlock your tray.
1. Clearing the "Yellow" Perimeter
Your tray is cluttered with Orange cups (which contain the Yellow sand). These are sitting in the top corners and bottom corners.
- Action: Tap the Orange cups immediately.
- Why: The background of the pixel art is huge and safe. It has no complex details to mess up. By sending these 3-4 cups to the belt first, you free up the corners of your tray and start chipping away at the yellow fill percentage.
- Warning: Do not mix in a Red cup yet. Just clear the Yellows to get a rhythm going.
2. The Rind and Seed Setup
Once the corners are clear, you have access to the side cups: Green and Dark Red.
- Action: Send the Green cups followed by the visible Dark Red cups.
- Focus: Watch the nozzle position. The Green needs to hit the outer curve. The Dark Red needs to hit the bottom line and the floating "seed" pixels.
- Tip: Spacing is key here. Don't butt these cups right up against each other. Leave a small gap on the conveyor so the nozzle has time to reset between the rind (Green) and the seeds (Dark Red).
3. Cracking the Mystery Cluster
By now, you should have cleared the top Red cup and the side blockers. The Mystery Cups in the center are now accessible.
- Action: Tap the Mystery Cups. They will reveal their colors as they hit the belt (or just before).
- Reaction: Usually, these hold the remaining Red needed for the main body or extra Green if you missed some rind.
- The Trap: Be ready for a color you didn't expect. If a Mystery Cup turns out to be Dark Red, ensure you don't waste it on a spot that's already filled.
4. The Final Red Flood
You likely have one or two large Red cups left (either from the top center or revealed from the mystery stack).
- Action: Send them last.
- Why: The red flesh fills the remaining gaps between the seeds. If you did step 2 correctly, the seeds are already painted Dark Red. The bright Red sand will flow around them, filling the rest of the slice perfectly. If you send Red too early, you risk painting over the seed slots, forcing you to retry.