Sand Loop Level 206 Solution Walkthrough | Sand Loop 206
How to solve Sand Loop level 206? Get instant solution for Sand Loop 206 with our step by step solution & video walkthrough.

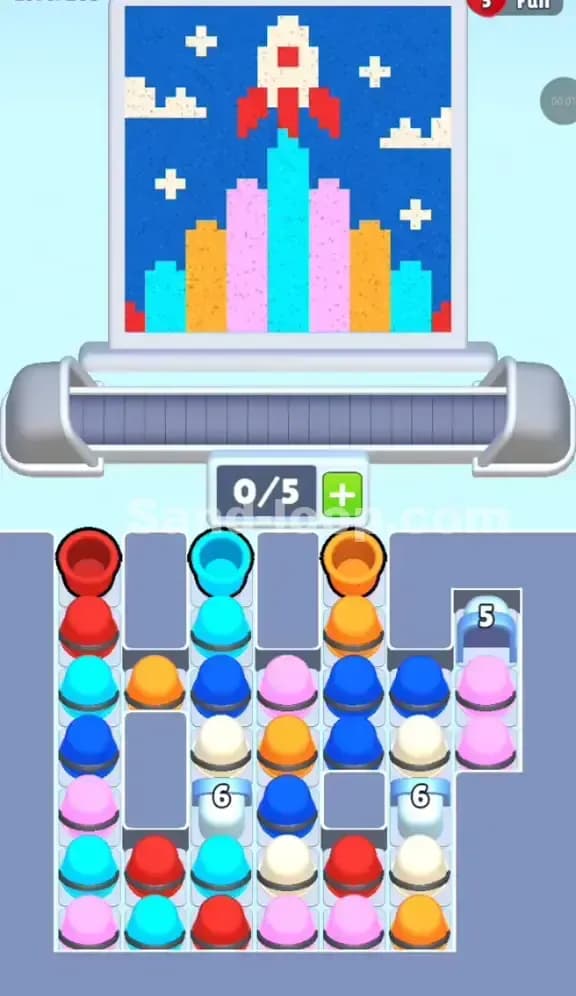
Sand Loop Level 206 Guide: The Retro Telephone Puzzle
Identifying the Art: The Rotary Phone
This level features a chunky, pixelated Retro Rotary Phone. It’s a logic-heavy level disguised as a simple coloring task. While the image itself isn't too complex, the supply tray is a nasty maze of dependency chains. You are looking at a bright red phone body, a yellow handset and dial, sitting on a massive green field.
The hook here isn't the painting speed; it's the Buried Key. Most levels put the key under one or two layers. Sand Loop 206 buries the golden key at the very bottom of the tallest stack on the board. You have to play aggressively to get it, but the limited 5-slot belt capacity means if you dig too fast, you choke the machine.
Sand Loop Level 206 Solution: The Color Economy
Before you start tapping, look at the top screen to understand what the sand dispensers need.
- Dominant Green (Background & Center Dial): A massive portion of this puzzle is just Green. This is your "dump stat." Whenever you have a Green cup clogging your belt, it will almost always find a home on the canvas. This is crucial for clearing space.
- Signal Red (Phone Body): This is the second most common color. It’s concentrated in the middle of the print.
- Safety Yellow (Handset & Ring): These are dangerous. Yellow is used sparingly compared to Green and Red. If you pull Yellow cups onto the belt before the sand dispenser is ready for them, they will just sit there, taking up one of your precious 5 slots.
- Dark Red (Shading): There are very few of these cups (mostly in the middle-right column). Treat them like the Yellows—only pull them when you know the shading part of the print is active.
The "Danger Zone": The Right Column
Your eyes might be drawn to the "6" counters in the middle, but ignore them for a second. The real threat is the Right Column. The Golden Key is sitting at the absolute bottom of this stack. It is covered by five other cups (Green, Red, Red, Yellow, Green).
You have a maximum capacity of 5 slots on your conveyor. If you try to dig straight to the key without clearing cups from the belt, you will hit the cap and fail instantly. You have to rhythmically tap this column, letting cups pour and disappear before tapping the next one deep in the stack.
Tackling the "6" Counters in Sand Loop Level 206
In the middle of the tray, sitting just below the top layer, are three white cups marked with the number 6. These are Countdown Barriers.
Unlike static blocks, these barriers usually require you to process sand or clear neighboring cups to tick that number down to zero. In this specific layout, they act as a lid on the middle reserves (which hold vital Yellow and Light Blue/White cups).
Here is the trap: You cannot focus on these "6" blocks early on. They are distractions. Your supply of usable cups is on the far left and far right. You need to pull from the edges to keep the belt moving, which incidentally counts down these timers. Do not waste brainpower trying to "break" them directly; they break naturally as you hunt for the key.
Sand Loop Level 206 Step-by-Step Walkthrough
1. The Right-Side Drill (The Key Hunt)
Your primary objective is the Golden Key in the bottom right corner.
- Tap the Top Green Cup on the far right. The conveyor will take it, and the dispenser will immediately start painting the green background. This frees up a slot.
- Tap the Red Cup directly underneath it. The phone body needs this red early.
- Pause. Do not just spam tap. Wait for the Green cup to finish pouring.
- Tap the next Red Cup in that right stack.
- Now you hit a Yellow Cup. Check the canvas. Has the painting reached the yellow handset or dial? If not, stop. If you put this Yellow cup on the belt now, it will block traffic. Work on the left side (Top Green) to keep the flow moving until the Red cups finish pouring and the printer asks for Yellow.
- Once the path is clear, grab the Yellow, then the final Green, and secure the Golden Key.
2. Managing the "6" Barriers
While you were drilling the right side, you should have also cleared the Top Left Green and the Top Center Green.
- Clearing these top cups exposes the white "6" barriers.
- As you pour sand for the phone, these counters will tick down.
- Once they shatter, they reveal the middle layer of cups. Be careful here: the middle contains White/Light Blue cups (often used for highlights) and more Yellows.
- Only pull these middle cups if your belt has 2+ open slots. The middle section is dense, and it's easy to accidentally tap a cup you don't need yet.
3. Cracking the Gold Lock
Once you grab the Key from the right corner:
- The Gold Lock on the bottom left will shatter.
- This releases the bottom-left stack, which is heavy on Green and Orange/Yellow.
- At this point, the picture should be 60-70% done. You likely have the top of the phone (Yellow handset) and the upper background left to do.
- The cups unlocked on the left are mostly filler for the final background sections.
4. The Final Polish (Dark Red & Yellow)
As you close out the level, watch out for the Dark Red cup hidden in the middle-right stack. This is for the shadow of the phone. It usually paints after the main red body is done but before the final green background fill.
- If you see the Dark Red cup available, queue it up between two Greens.
- Don't leave it for the very end, or you might find yourself with a belt full of Green cups and no way to get the Dark Red to the nozzle.
Summary: Ignore the middle. Drill the right column to get the key, but pace yourself so you don't choke the 5-slot limit. Green is your friend for clearing belt space!