
Sand Loop Level 145 Solution Walkthrough | Sand Loop 145
How to solve Sand Loop level 145? Get instant solution for Sand Loop 145 with our step by step solution & video walkthrough.


Sand Loop Level 145 Guide: The Poison Apple Puzzle
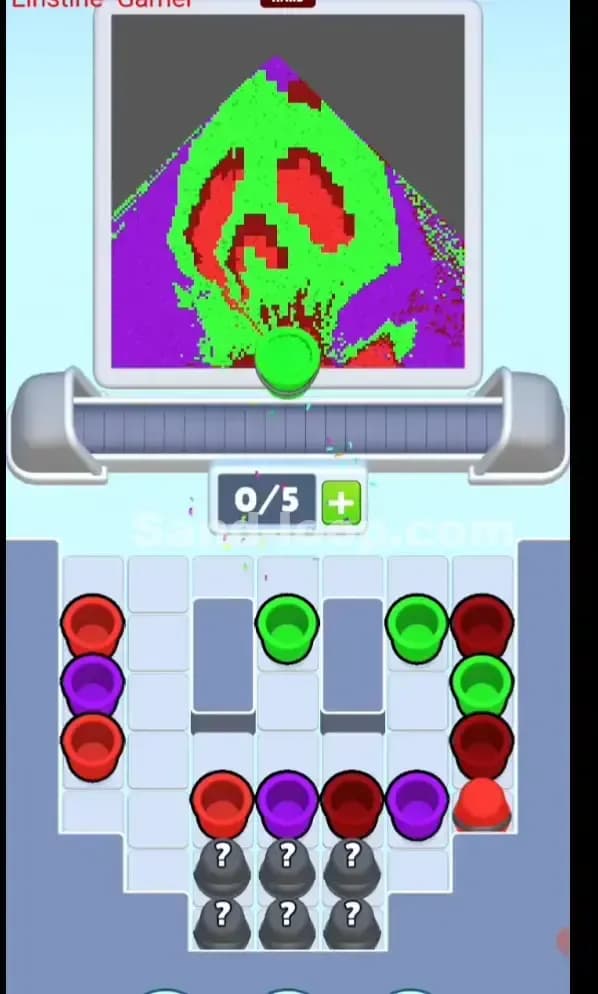
Welcome to the spooky side of Sand Loop. Level 145 features a pixel art rendition of the classic "Poison Apple"—a bright red fruit covered in dripping green skull sludge, set against a solid purple backdrop. This is a hybrid level: it starts as an ice-breaking speed challenge but quickly morphs into a precision logic puzzle where wasting colors can be fatal.
The color palette here is strict:
- Bright Red: For the base of the apple and the eye/nose sockets of the skull.
- Neon Green: For the dripping skull overlay.
- Deep Purple: Exclusively for the square background.
Sand Loop Level 145 Solution: Analyzing the Pixel Art
Look closely at the top screen. You aren't just dumping sand; you are building layers.
Color Palette Deep Dive: This level uses three distinct colors.
- Red: Used heavily at the bottom (the apple base) and in the middle (the skull's eyes and nose).
- Green: Used for the skull shape itself and the stem. Notice the "drips"—these irregular green lines extend down into the red area.
- Purple: This is purely background fill. It surrounds the apple entirely.
The "Danger Zones": The most dangerous part of Sand Loop Level 145 is the Green/Red interface. Specifically, the skull's "teeth" and dripping slime. If you pour green too fast while the dispenser is over a red section (like the eye sockets), you will ruin the image definition. The other danger zone is the purple background; because the purple cups are locked on the left side initially, you might be tempted to use them early. Don't. Save purple for last or strictly for the edges.
Fill Order Prediction: You typically want to build the central object first. Focus on the red apple base, then layer the green skull details on top. The purple background is huge, but it's largely separate from the main figure, so it can be filled in bursts later.
Tackling the "Ice Wall" in Sand Loop Level 145
The primary obstacle in Sand Loop Level 145 is the Triple Ice Blockade sitting right in the center bottom of the supply tray.
Three blocks, each requiring 10 hits, guard a set of "Mystery Rock" cups below. These 10-hit ice blocks are tanky. You cannot break them casually. Worse, they are blocking Red cups (center left/right) that you desperately need for the apple's core.
This blockade forces a specific playstyle: Rapid Fire Red. You need to cycle your available red cups specifically to hammer these ice blocks. If you use green or purple cups to hit the ice, you are wasting valuable paint that needs to go onto the canvas. Use the red cups that are already free to chip away at the ice while simultaneously filling the red parts of the apple.
Sand Loop Level 145 Step-by-Step Walkthrough
This level is about managing a very tight "cup economy." You have a 5-cup limit on the conveyor, but your supply tray is cluttered.
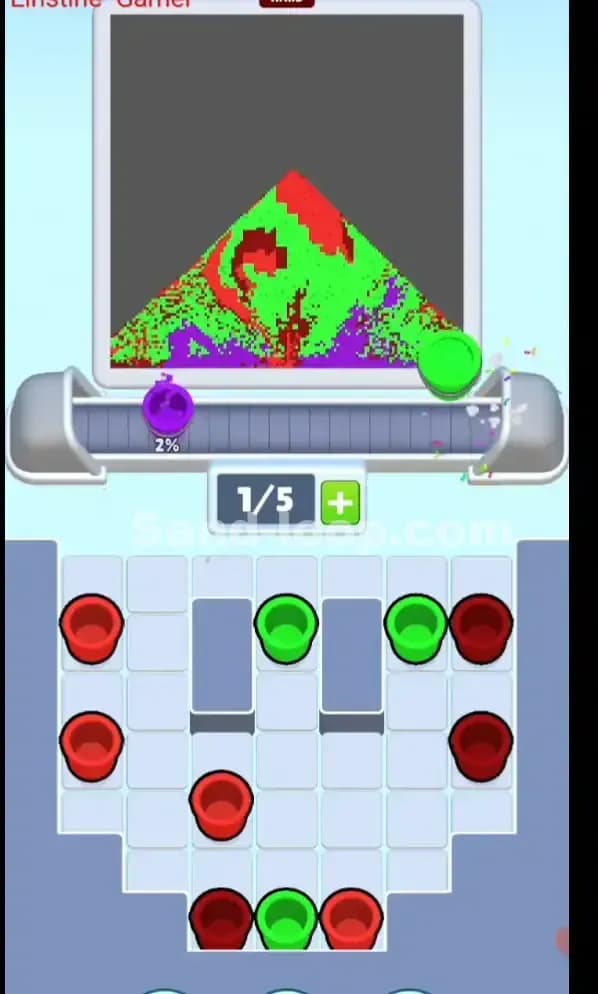
1. Breaking the Ice (The Red Rush)
Your first moves must focus on the Red cups. Ignore the purple cups on the far left and the green cups on the far right for a moment.
- Look at the center columns. You have free Red cups sitting directly above the Ice Blocks.
- Tap these Red cups onto the conveyor.
- The goal is twofold: fill the bottom red section of the apple and crash the used cups into the "10" Ice Blocks upon return.
- Crucial: Do not let the conveyor jam. As soon as a red cup returns and hits the ice, send it back out if you still need red paint. You need 30 total impacts to clear that bottom row.
2. The Green Drip Phase
Once you've established the red base of the apple, the image requires Green.
- The Green cups are mostly located on the right side of the tray and in the center columns (once unblocked).
- Start mixing Green cups into your rotation.
- Timing Alert: The green skull has holes (eyes/nose) that are red. When the dispenser is over those holes, ensure a Red cup is pouring. When it's over the skull bone, ensure a Green cup is pouring.
- If you just alternate Red-Green-Red-Green without watching the nozzle position, you will get a muddy brown mess instead of a crisp skull.
3. Unlocking the Mystery Rocks
As you chip away the Ice Blocks (reducing them from 10 to 0), they will shatter, revealing the bottom row of "Mystery Rocks" (grey cups with question marks).
- These are essentially "wild cards" or extra stock.
- In Sand Loop Level 145, these are vital because you might run low on specific colors if you were wasteful earlier.
- Unlock them only when you have space in your 5-slot conveyor limit. Don't clutter your belt with mystery cups if you still have specific colored cups you need to use.
4. The Purple Finale
The Purple cups are stacked heavily on the left side of the tray.
- You barely need purple until the end.
- The background fill is the largest area but the simplest shape.
- Once the apple and skull are defined, unleash the Purple cups. You can often send 2 or 3 purple cups in a row to flood the background quickly.
- Warning: Be careful not to overflow. The canvas edges are sharp. Stop pouring purple the moment the background hits 95% to avoid ruining your "Perfect" rating with spillover.
Beat the ice, respect the drip, and the Poison Apple is yours.

