Sand Loop Level 243 Solution Walkthrough | Sand Loop 243
How to solve Sand Loop level 243? Get instant solution for Sand Loop 243 with our step by step solution & video walkthrough.

Sand Loop Level 243 Guide: The Red Dresser Puzzle
Sand Loop Level 243 is a deceptive logic challenge disguised as a simple furniture painting task. The pixel art depicts a Red Dresser topped with two potted plants, set against a split background of cream wallpaper and cyan sky details, grounded by an orange floor.
This isn't a speed level where you're smashing ice. This is a supply management level. You have a strict 0/5 slot capacity on the conveyor belt and a supply tray that is densely packed with alternating colors. The hook here is the color overlap: the dresser uses multiple shades of red and maroon that are easily confused with the orange floor tiles if you aren't paying close attention to the supply tray. One wrong cup in the "Red" sequence can bleed orange into your furniture, forcing a restart.
Sand Loop Level 243 Solution: The Red Dresser
Let's break down the canvas at the top of the screen. The image is structured in distinct layers, which dictates your fill order.
- Color Palette: You are dealing with Dark Maroon (dresser shadows/drawer handles), Bright Red (main dresser body/flower petals), Green (plant leaves), Cyan (sky patches), Cream/White (wallpaper), and Orange/Tan (floor).
- The "Danger Zones": The most fragile part of this image is the top section with the plants. The green leaves are interlaced with small red flower pixels. Because these areas are small and detailed, "spray and pray" tactics will fail here. If you send a continuous stream of green cups, you might accidentally paint over the red flower spots or waste paint on the empty air between leaves.
- Fill Order Prediction: The Orange floor is the largest contiguous block at the bottom, making it a tempting first target. However, the Red Dresser body is the central anchor. Often, filling the large red block first clears up the most tray space, as red cups are abundant and often blocking other necessary colors.
Tackling the Alternating Supply Tray in Sand Loop Level 243
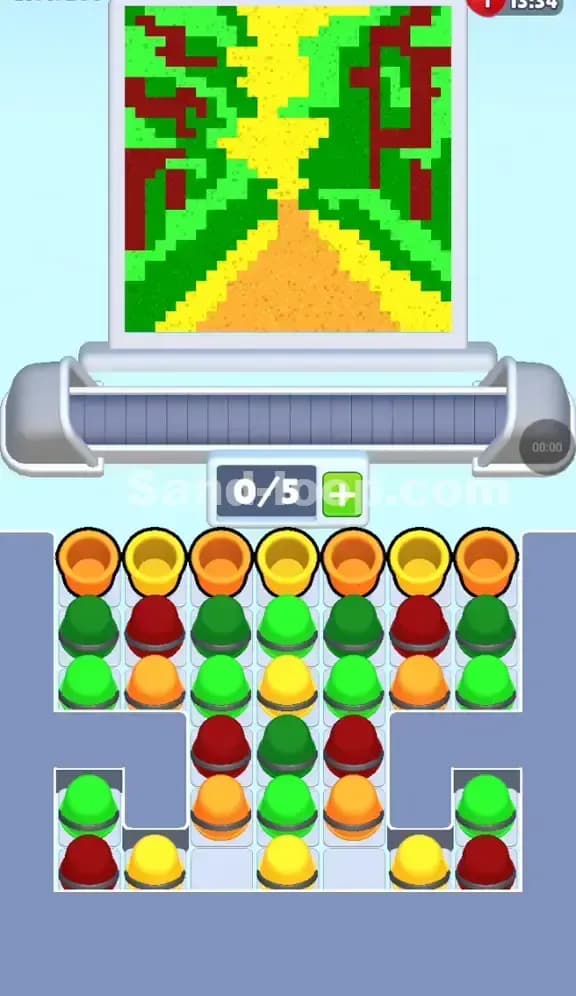
The primary obstacle in Level 243 is the Checkerboard Supply Layout. Look at your tray. The cups aren't grouped by color.
Row 1 (top) is an alternating pattern of Orange and Maroon. Row 2 is Green, Red, Green, Orange, Red, Green. Row 3 introduces Cyan and White.
This layout is a trap. If you try to fill the Red Dresser immediately, you can't. The red cups are buried in the second, third, and fourth rows. You are forced to clear the top layer—Orange and Maroon—before you can access the bulk of the colors needed for the main image. This means your hand is forced: you must paint the floor and the dresser's dark shadows first. You don't have a choice.
Sand Loop Level 243 Step-by-Step Walkthrough
Success here relies on peeling back the layers of the supply tray in the correct order to avoid jamming your 5-slot conveyor belt.
Clearing the Floor and Shadows
Your first moves are dictated by the top row of the tray. You have Orange and Maroon cups immediately available.
- Tap the Orange cups first. Load 2-3 Orange cups onto the belt. These will target the bottom floor section of the canvas. This clears space in the top row.
- Follow with Maroon. Once the orange floor is filling, send the Maroon cups. These will fill the dark outline of the dresser and the drawer handles.
- Watch the gap. Do not fill the belt to 5/5 capacity yet. The paint pours take time. If you load 5 cups instantly, the first cup might not finish pouring before the last one arrives, causing a jam if the colors don't match the current pixel need.
Navigating the "Green & Red" Mid-Game
Once the top row is cleared, you unlock the second row containing Green and Red. This is the tricky part.
- Prioritize Red. The dresser body is a huge block of red pixels. Start tapping the Red cups from the second row. Because the target area (the dresser) is large, you can safely load 3-4 Red cups in a row without worrying about overfilling.
- The Green Delay. While the red is pouring, you will see Green cups exposed. Do not tap them yet. The plants are at the very top of the image. If you send Green cups now, they will travel the belt, find no valid pixels to paint (since the dresser isn't finished), and loop back or waste time. Leave the Green cups in the tray until the Red Dresser body is mostly complete.
Filling the Background and Details
Now you are deep into the tray, accessing Row 3 and 4 with Cyan and White.
- White before Cyan. The cream wallpaper takes up significant space behind the dresser. Once you see White cups, prioritize them. They often clear large chunks of the background, making it easier to spot the remaining single pixels.
- The Plant Precision. Finally, deal with the plants. Now that the dresser is done, the Green cups have valid targets. Send them in pairs—Green, then a gap, then Green. Avoid a long chain. The plants have gaps between leaves. A continuous stream of cups will result in the sand pouring into the empty space between the leaves, which wastes the cup.
- Cleanup. Use the Cyan cups last to fill the sky patches peeking through the wallpaper. These are usually the final scattered pixels that remain after the heavy lifting is done.