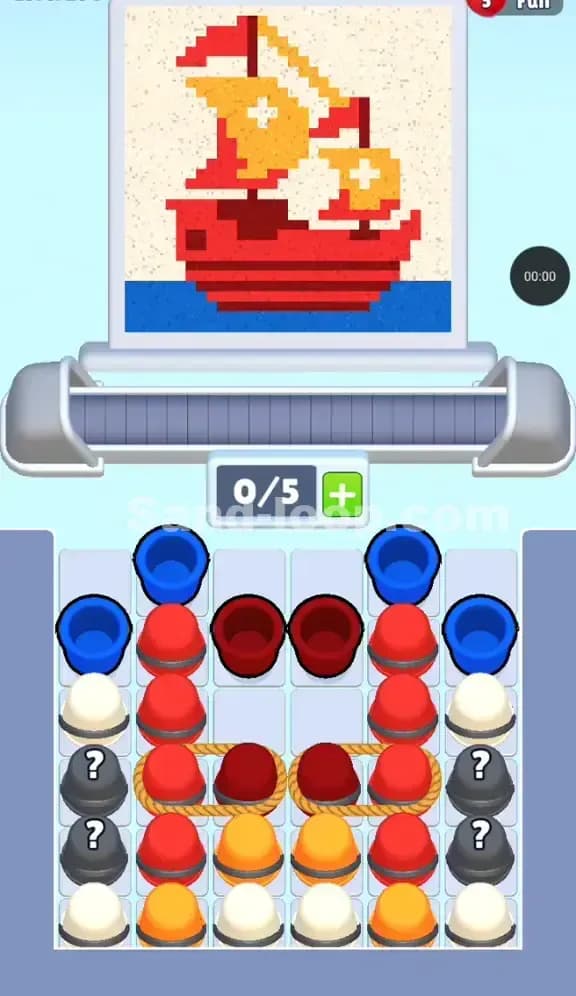
Sand Loop Level 265 Solution Walkthrough | Sand Loop 265
How to solve Sand Loop level 265? Get instant solution for Sand Loop 265 with our step by step solution & video walkthrough.

Sand Loop Level 265 Guide: The Blue Dragon Head Puzzle
Sand Loop Level 265 is an endurance test disguised as a simple painting level. The pixel art features a Blue Dragon Head (or perhaps a stylized monster profile) set against a vibrant green background scattered with yellow stars. Unlike previous puzzle-heavy stages, this one is a grinder. You are faced with high-HP Ice Blocks that demand speed and constant cycling of cups.
This is not a "key logic" level where one wrong move fails you instantly. Instead, it is a Capacity Management level. With only a 0/5 slot limit on your conveyor belt and massive "20" and "25" counters on the ice blocks, your enemy here is a jammed belt. If you play too slowly, you lose rhythm. If you play too fast, you choke the 5 slots and get stuck with the wrong colors.
Sand Loop Level 265 Solution: The Color Economy
Looking at the top screen, the artwork dictates your flow. You can’t just tap randomly.
- Dominant Green Background: This is your "filler" color. The majority of your early and mid-game pours will be green. You need a constant stream of green cups to make progress on the background while waiting for the dragon parts.
- The Blue & Cyan Dragon: The creature itself is two-toned. A darker blue core and cyan highlights/mane. This distinction is vital. The game loves to trick you into pouring dark blue into a cyan zone. Watch the preview carefully.
- The White Outline: A thin white border separates the dragon from the green field. These lines are fragile. A sloppy pour here ruins the definition.
- The Yellow Stars: These are the final touches. They are isolated pixels. You usually don’t need yellow until the very end, or during brief specific intervals.
The Danger Zone: The "25" Ice Block in the dead center. It splits the board in half. Until this breaks, your access to the bottom row—and crucially, the single Yellow cup at the very bottom—is strictly cut off.
Tackling the Ice Triad in Sand Loop Level 265
The defining obstacle of Sand Loop Level 265 is the "Ice Triad." You have two blocks with 20 HP on the flanks and one massive block with 25 HP in the center.
These aren't standard locks. These are hit-point barriers. Every time you clear a cup adjacent to them (or sometimes just successfully completing a pour, depending on the specific patch version), the number ticks down. You have to churn through roughly 65 "actions" just to open the board up.
The trap here is the Mystery Cups (the grey pots with question marks). They sit right next to the Ice Blocks. If you tap a Mystery Cup hoping to break the ice, but it reveals a color the dispenser isn't currently pouring, it sits on your conveyor belt. It takes up one of your precious 5 slots. If you do this three times, you have 3 dead cups riding the loop, leaving you only 2 functional slots. That is a death sentence.
Sand Loop Level 265 Step-by-Step Walkthrough
1. The Green & Cyan Opening
Your first moves in Sand Loop Level 265 are scripted by the top row of the supply tray. You have Dark Green cups in the center and Cyan cups on the edges.
- Ignore the Mystery Cups for now. They are bait.
- Tap the Green cups immediately. The dispenser almost always starts with background fill.
- Get the Green cups on the belt to start chipping away at the "20" counters on the left and right Ice Blocks.
- Once the dispenser switches to blue/cyan for the dragon's head, pull the corner Cyan cups. Do not pull the White cups yet unless the outline is actively being drawn.
2. Cracking the Side Ice (The "20" Blocks)
As you cycle the top row, the side Ice Blocks (20 HP) will eventually shatter. This exposes the middle layer of the tray.
- This reveals the White cups and more Dark Green.
- This is the most dangerous phase. You likely have a few "dead" cups on your belt from mistimed taps.
- Rule of Thumb: Keep 2 slots open. If the counter says 3/5, stop tapping. Let the cups pour and clear. If you hit 5/5 here, you will likely jam when the color switches from Green to Blue.
- Use the newly freed White cups strictly for the dragon's border. Do not waste them on the background.
3. The Center "25" and the Yellow Anchor
The middle "25" block takes the longest to break. It sits directly above the Blue cups and the single Yellow cup at the bottom apex.
- You cannot finish the dragon's body (Dark Blue) until this 25 block is gone.
- You cannot paint the stars (Yellow) until the block is gone, because it physically blocks the path to the Yellow cup at the bottom.
- Focus purely on speed here. If the dispenser is Green, find every Green cup available and queue it. You need to spam actions to reduce that "25" counter to zero.
4. The Starry Finish
Once the center ice shatters, the bottom of the tray opens up.
- You will finally have access to the Yellow cup at the very bottom.
- Sand Loop Level 265 often saves the stars for the last 10% of the painting.
- Wait for the dispenser to show Yellow. It will be a short burst. Tap that bottom Yellow cup (and any revealed Mystery cups that turned yellow) immediately.
- If you tap the Yellow cup too early while the dispenser is still doing the Blue dragon body, it will just loop endlessly, clogging your belt. Patience is key for the final stars.