Sand Loop Level 137 Solution Walkthrough | Sand Loop 137
How to solve Sand Loop level 137? Get instant solution for Sand Loop 137 with our step by step solution & video walkthrough.
Sand Loop Level 137 Guide: The Neon Snail Puzzle
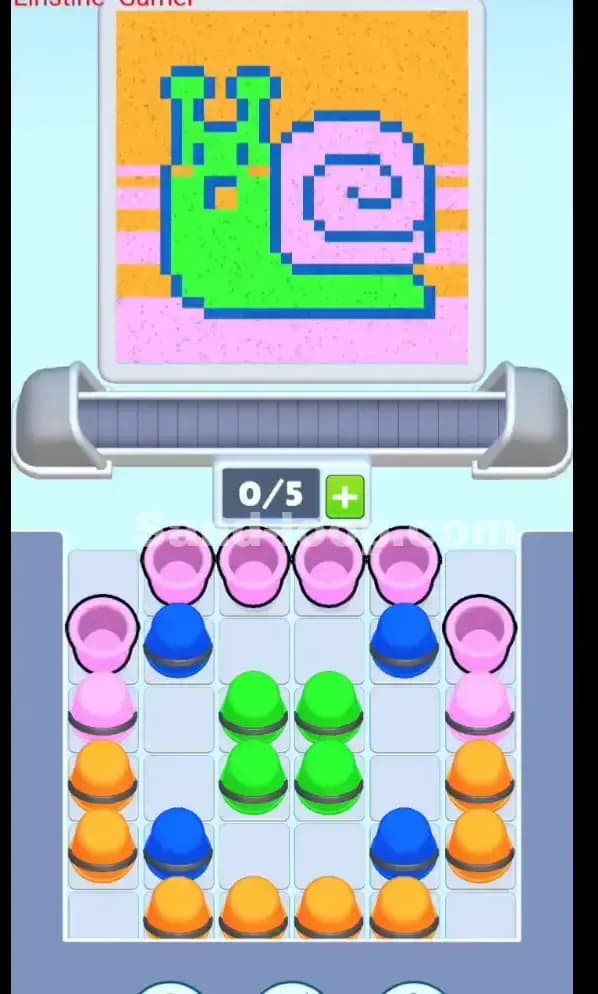
This isn't a speed race; it's a traffic jam waiting to happen. Sand Loop Level 137 features a quirky, vibrant pixel art Snail. The challenge isn't the complex geometry of the art itself, but the extremely crowded supply tray. You start with zero wiggle room. If you pull the wrong cup first, you deadlock instantly.
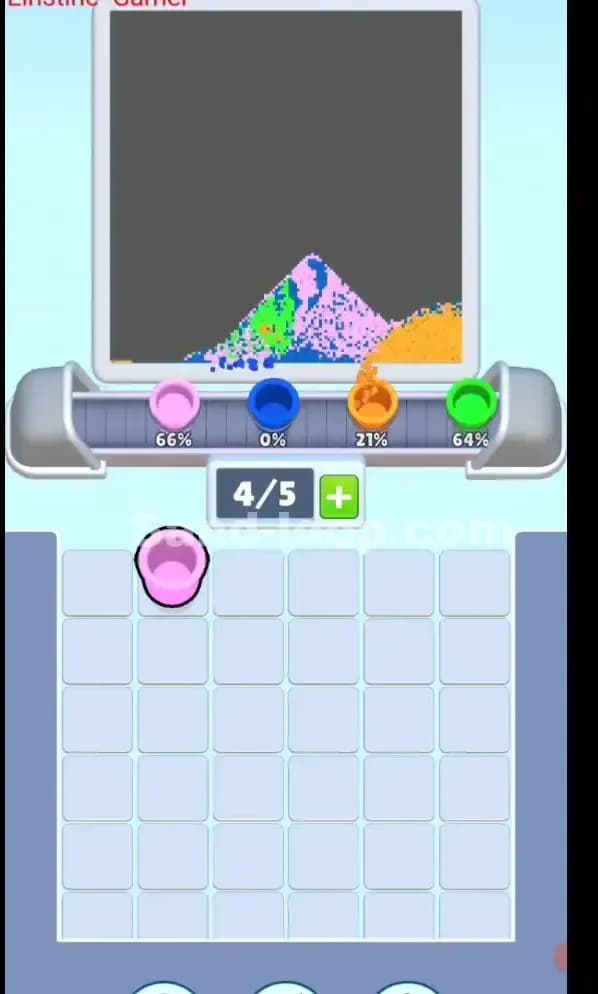
The color palette is distinct: Bright Green for the snail's body, Light Pink for the shell and background stripes, Orange for the alternate background stripes, and Dark Blue for the outline details.
Sand Loop Level 137 Solution: Decoding the Snail
Look closely at the canvas at the top of the screen. The pixel art dictates your flow.
-
Color Palette Deep Dive: You are juggling four specific colors.
- Light Pink: Used heavily for the snail's shell swirl and the bottom/top background bands.
- Bright Green: The main body of the snail.
- Orange: The middle horizontal stripes in the background.
- Dark Blue: The tricky outline. It's thin. It's easy to miss. It outlines the shell spiral and the body shape.
-
The "Danger Zones": The spiral on the shell is the killer. It requires precise bursts of Blue to create the line, sandwiched between heavy Pink pours. If you just dump Pink continuously, you'll erase the spiral definition. Also, notice the snail's eyes—tiny Blue dots inside the Green head. Do not flood the head with Green until those Blue details are placed or accounted for.
-
Fill Order Prediction: The standard Sand Loop rule applies: Outlines first (Blue), then Fill (Green/Pink). However, because the tray is locked up tight, you might be forced to dump some Pink or Orange background layers early just to free up the Blue cups you actually need.
Tackling the Locked Tray in Sand Loop Level 137
The specific obstacle here is the U-Shape Lock Pattern. Look at the bottom tray.
You have a central block of Green cups surrounded by a wall of Blue and Pink cups, which are further boxed in by Orange cups at the bottom corners.
Specifically, the Pink cups at the very top are the only ones freely accessible. Every other color is physically blocked by the cup above it.
- The Blue cups are blocked by the top row Pink.
- The side Pink cups are blocked by Blue.
- The Green center is blocked by the top row.
- The Orange bottom row is buried under everything.
This "Dependency Chain" means you literally cannot access the Blue outline cups until you clear the top Pink cups. This forces you to paint the background (or shell) before you can even touch the outline. It's backward compared to most levels.
Sand Loop Level 137 Step-by-Step Walkthrough
This level requires patience. Do not spam tap. You have a 0/5 slot capacity, which is generous, but the cups return slowly.
1. Clearing the Top Pink Blocker
Your first move is forced. You must clear the top row of four Pink cups.
- Send them to the conveyor immediately.
- This will start filling the pink background stripes and the bulk of the shell.
- Critical: Do not worry about "saving" pink for later. You have plenty of pink cups on the sides. The goal right now is purely to unlock the Blue cups underneath.
2. The Blue Outline Injection
Once the top Pink row is gone, the two Blue cups in the second row are exposed.
- Tap them now.
- These Blue cups are essential for the snail's outline and the shell spiral.
- Because you already poured Pink, the Blue will likely settle on top or merge into the layer, forming the necessary contrast.
- Timing: Try to send these Blue cups with a small gap between them. You want them to hit the dispenser when the nozzle is over the shell spiral or the body edge, not the empty background.
3. Unlocking the Green Body
With the Blue cups out of the way, the central cluster of four Green cups is now accessible.
- The snail's body is a large, solid block of green.
- Send 2 Green cups first. Let them fill the base of the snail.
- Wait for the dispenser to move away from the shell area. You don't want Green mixing into your Pink shell.
- Send the remaining Green cups to finish the head and neck.
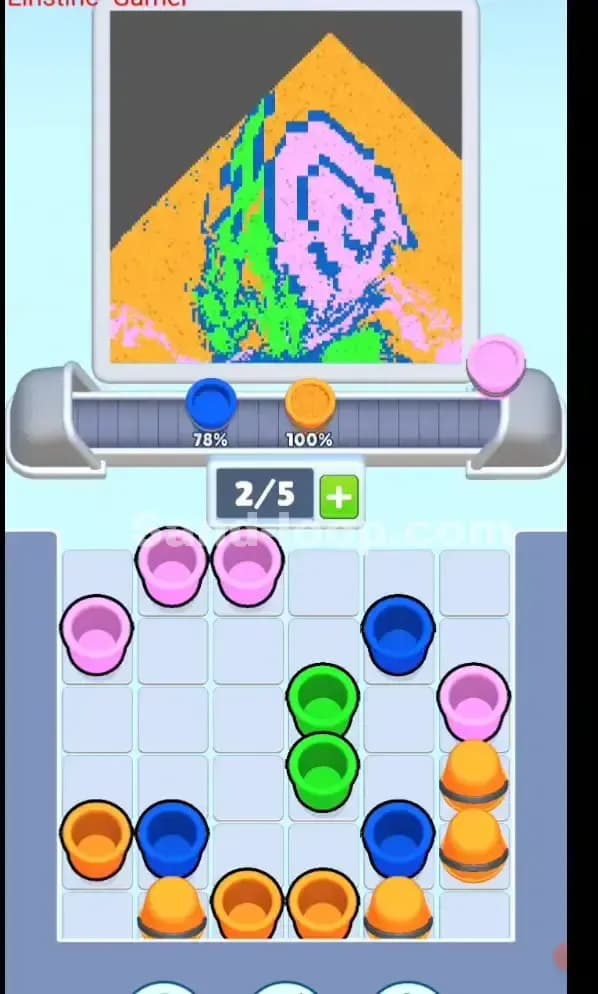
4. The Orange Stripe Finish
By now, you've dug deep enough into the tray to reach the bottom and side Orange cups.
- The Orange is purely for the horizontal background stripes.
- These are low-risk pours. You can send them almost anytime the nozzle is near the middle-left or middle-right of the canvas.
- Waste Management: If you have leftover Orange cups but the orange stripes are full, just hold them. Don't pollute your nice green snail with orange specks just to clear the tray.
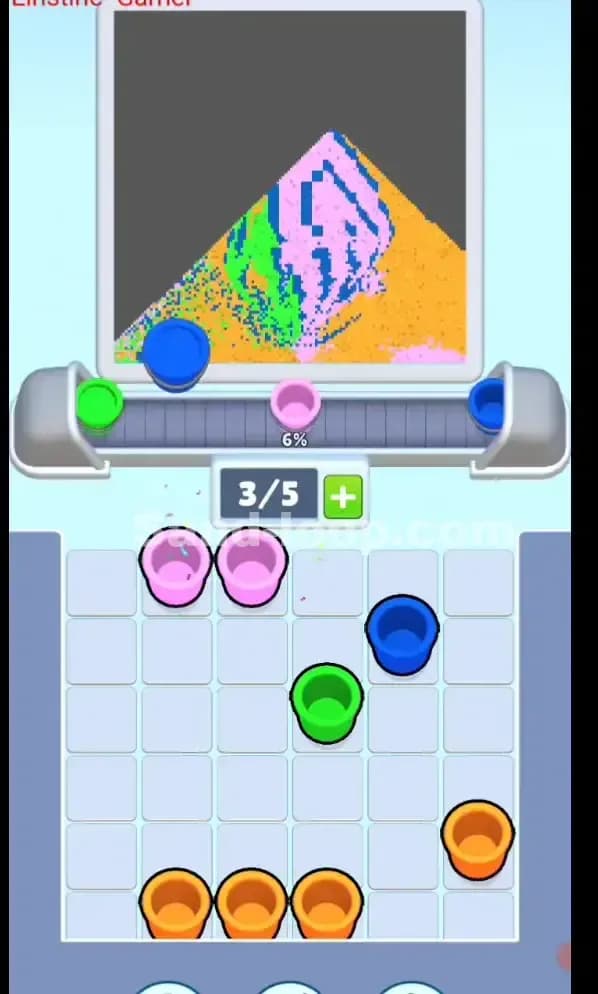
5. Final Cleanup
You will likely need a few more Pink pours to finish the top of the background. Use the side columns (where Pink and Blue were stacked) to grab any remaining Pink cups. Keep an eye on the "Current/Total" counter (0/5). Since you are digging deep into columns, ensure you don't leave a single stranded cup blocking a column you need to refill. Keep the conveyor moving, but keep the pours short.