
Sand Loop Level 158 Solution Walkthrough | Sand Loop 158
How to solve Sand Loop level 158? Get instant solution for Sand Loop 158 with our step by step solution & video walkthrough.
Sand Loop Level 158 Guide: The Parrot Puzzle
This level features a vibrant pixel art Parrot. It’s a logic-heavy level disguised as a simple color fill. The challenge isn't speed; it's managing the "roped pairs" in the tray that force you to take colors you might not need yet.
The hook here is the rope dependency. You have several pairs of buckets (Red + Blue) tied together with rope. You cannot take one without the other, which clogs your 5-slot conveyor belt instantly if you aren't careful. If you grab a rope pair when your belt is already full of junk, it’s game over.
Sand Loop Level 158 Solution: The Parrot
Let’s look at the canvas on the top screen.
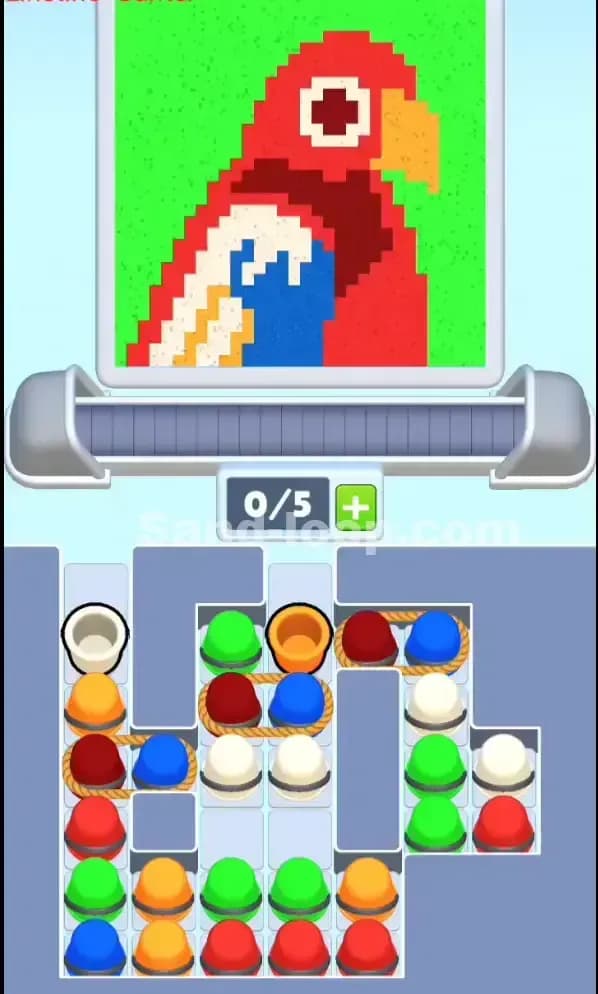
- Color Palette Deep Dive: The Parrot requires a massive amount of Red (head and body) and Green (background). There are smaller, critical sections of White (face/wing), Blue (wing), Orange (beak), and a dark Maroon (shadows).
- The "Danger Zones": The biggest risk is the Parrot’s Eye (white surrounded by red) and the Beak (orange). The beak is particularly tricky because it borders both the green background and the red face. If you pour green too early or too aggressively, you'll paint over the beak pixels.
- Fill Order Prediction: You generally want to establish the Red body first. It's the central anchor. The Green background should be saved for last or for "trash dumps" when you have excess green cups, as it covers the most area and is forgiving.
Tackling the Roped Pairs in Sand Loop Level 158
The specific obstacle in Sand Loop Level 158 is the Roped Red/Blue Pairs. You can see three distinct sets of these in the tray: one on the left, one in the center, and one on the right.
This mechanic forces a "buy one, get one" scenario. You might desperately need Red for the parrot's head, but grabbing that Red bucket drags a Blue bucket onto the belt too. Since Blue is a minor color here (only used for a small part of the wing), these Blue buckets become dangerous blockers.
You must plan your belt capacity around them. Never tap a Roped Pair if you have 4/5 slots filled. You need at least 2 empty slots to accept the pair, or the game will reject the move.
Sand Loop Level 158 Step-by-Step Walkthrough
This puzzle is about clearing the top layer of "junk" buckets to reach the high-volume colors below without jamming your belt.
1. Clearing the Top Layer
Your tray starts cluttered. You have a lone White bucket on the far left and a lone Orange bucket in the center-left.
- Action: Tap the top-left White bucket immediately. This clears a path for the column below it.
- Action: Tap the top-middle Green bucket and the Orange bucket next to it.
- Reasoning: You need to clear these single items first to open up 3-4 slots on your belt. Do not touch the Roped Pairs yet. Let the White and Orange pour onto the canvas (aim for the beak/wing area if possible, but early game is just about clearing space).
2. Handling the First Rope Pair
Now that you have belt space, you must tackle the Roped Pairs.
- Action: Locate the Red/Blue Roped Pair in the center or left column. Tap it.
- Constraint: Ensure your belt has 2 empty slots.
- The Pour: The Red bucket is gold here—it will fill a huge chunk of the Parrot's head. The Blue bucket will follow. Watch the pour nozzle timing! Let the Red pour fully. When the Blue arrives, ensure the stream hits the blue wing patch. If you miss, you contaminate the red body. It is better to skip the Blue pour (let it drop off the end) than to ruin your Red progress.
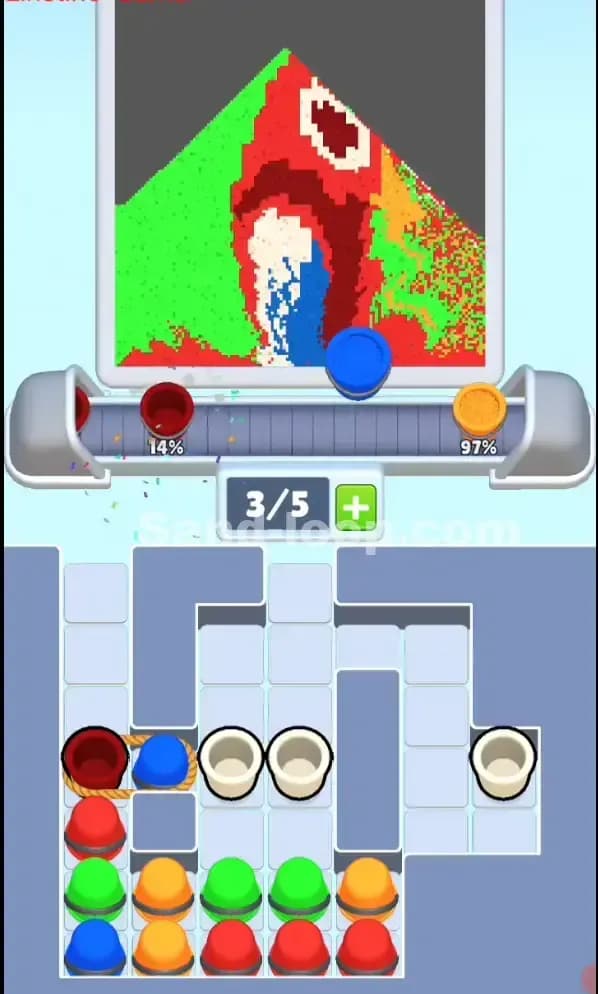
3. Digging for Green
The bottom of the tray is heavy with Green and Red.
- Action: Once the top ropes are gone, you will expose a lot of Green buckets in the middle and right columns.
- Strategy: Start aggressively feeding Green buckets to the belt.
- Target: Use these to fill the background corners. This is your "safe" phase. While the green pours, scan the tray for the next blocked color you need (likely more White for the wing feathers).
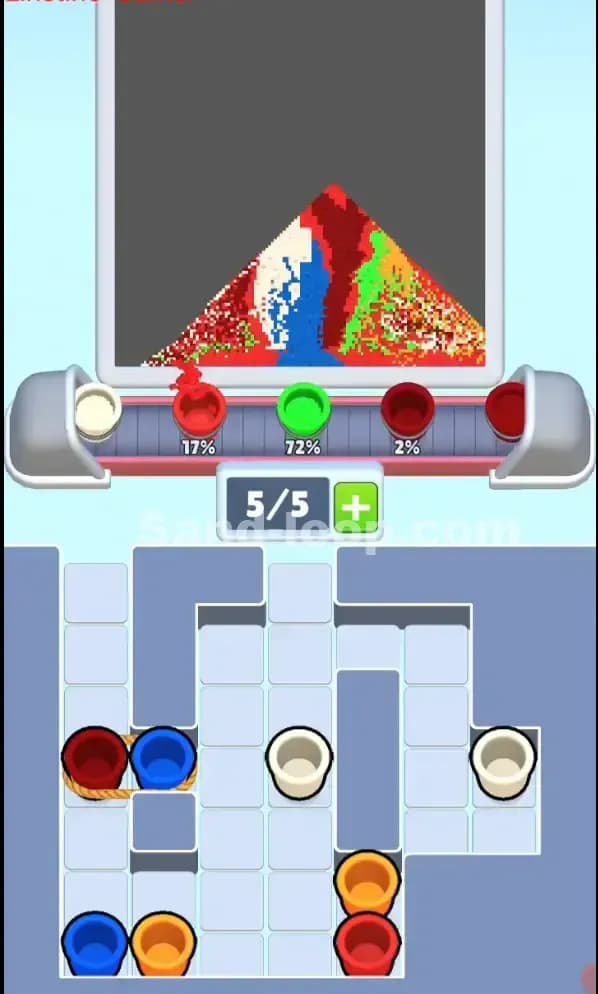
4. The Final Polish (Beak and Eye)
By now, the main body is red and the background is green. You likely have gaps in the Beak (Orange) or Wing (White/Blue).
- Action: Look for the specific buckets remaining in the bottom rows. You will likely have a few stray Orange buckets left in the bottom-left or bottom-right.
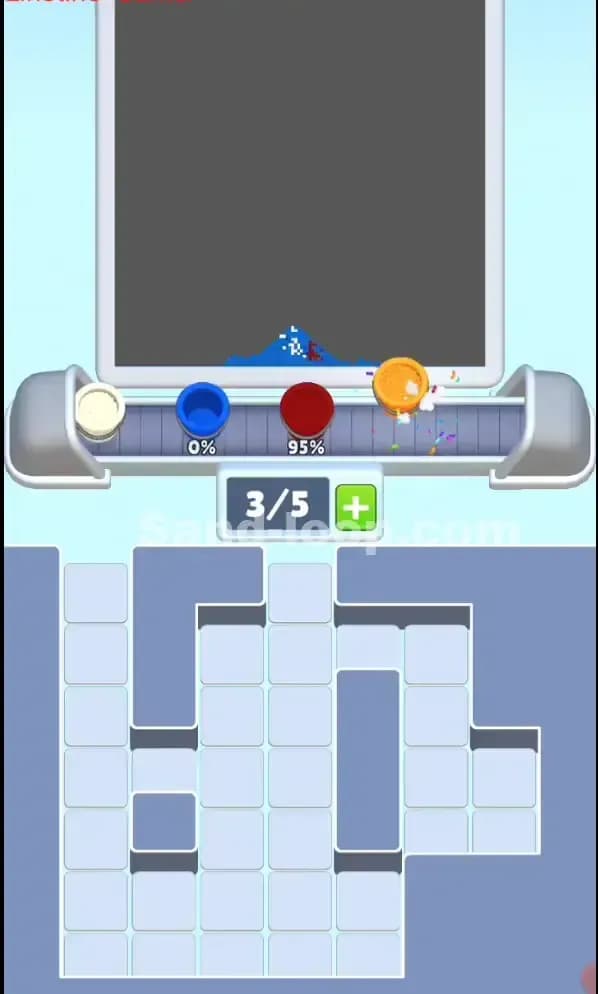
- Timing: Isolate these buckets. Do not mix them on the belt with other colors. Send the Orange bucket alone. Wait. Watch it travel. Tap the pour only when it is directly over the beak. Precision is key for the final 5%.

