Sand Loop Level 164 Solution Walkthrough | Sand Loop 164
How to solve Sand Loop level 164? Get instant solution for Sand Loop 164 with our step by step solution & video walkthrough.


Sand Loop Level 164 Guide: The Purple Octopus Puzzle
The Art: "Abyssal Octopus"
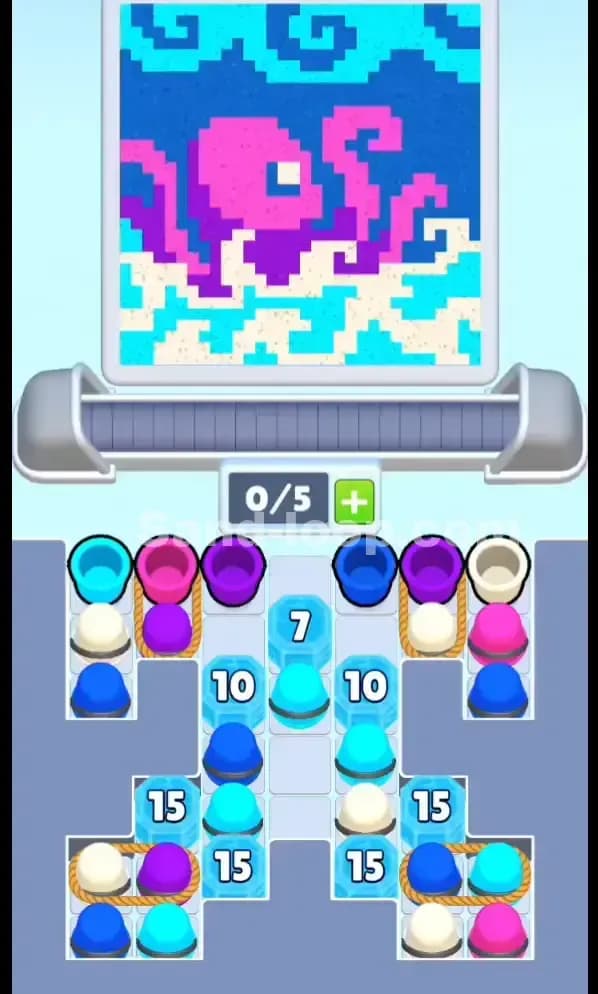
This is a logic-heavy level featuring a pixel art Purple Octopus submerged in the ocean.
- Type: Ice Breaking & Rope Management.
- The Hook: This level is an endurance test. The central column is locked behind massive Ice Blocks with HP as high as 15. You cannot access the primary supply of Cyan and Blue cups (essential for the water background) until you grind these blocks down.
Sand Loop Level 164 Solution: The Abyssal Octopus
The canvas is divided into three distinct color zones that dictate your fill order.
- Color Palette Deep Dive:
- White/Beige: The sandy sea floor at the very bottom.
- Pink & Purple: The octopus body in the center.
- Cyan & Dark Blue: The dominant water background and swirls at the top.
- The "Danger Zones": The transition from the Purple Octopus to the Cyan Water is where players fail. The octopus has intricate tentacles that require precise Pink/Purple bursts. If you flood the board with Cyan (from the center column) too early, you might bury the tentacles and ruin the definition.
- Fill Order Prediction: You generally build from the bottom up. Focus on the White sand first, then the Purple/Pink entity, and save the heavy Cyan pouring for the end when the top of the canvas is reached.
Tackling the "Ice Pillar" in Sand Loop Level 164
The specific obstacle here is the Central Ice Pillar containing the numbers 7, 10, and 15. This isn't just a wall; it's a vault. The cups locked inside this ice (mostly Cyan and Blue) are absolutely required to finish the top half of the painting.
- How it works: You cannot touch the ice directly. The numbers only decrease when you clear cups adjacent to the ice blocks.
- The Trap: The bottom block has 15 HP. This means you must clear 15 cups from the neighboring slots to break it. If you are inefficient with your side matches, you might run out of accessible cups before breaking the ice, leaving you deadlocked.
Sand Loop Level 164 Step-by-Step Walkthrough
1. Opening the Wings
Your first moves must focus on the "wings" (the far left and right columns). You will see a free Cyan Cup on the top left and a Dark Blue Cup on the top right.
- Check your color target. If the bottom needs White/Sand, you might have to hold these Blue cups on the conveyor temporarily.
- Do not let them sit there forever. If the conveyor fills up (5/5), you die. If the current color is White, and you pull a Blue cup, you are wasting a slot. Only pull them if you can clear them or have at least 3 empty slots.
2. Managing the Rope Pairs
The real headache starts with the Roped Cups.
- Top Left: Pink is tied to Purple.
- Top Right: Purple is tied to White.
- Strategy: When you tap a roped pair, you use 2 conveyor slots instantly. Never tap a rope if your conveyor is at 4/5 capacity. You need a buffer. Ideally, tap a rope pair when you have 0 or 1 cup on the belt.
- These ropes are the key to breaking the top Ice Block (7). Prioritize clearing the top ropes to chip away at that number.
3. Grinding the "15" Block
Once the top layer is clear, you'll be digging into the lower side stacks.
- This is the grind. Every match you make on the left or right side lowers the HP of the central ice.
- Critical Tip: Do not fixate on the center. Ignore it. Focus entirely on clearing the side columns efficiently. As long as you are matching colors on the sides, the center will naturally unlock right when you need the Cyan cups for the background.
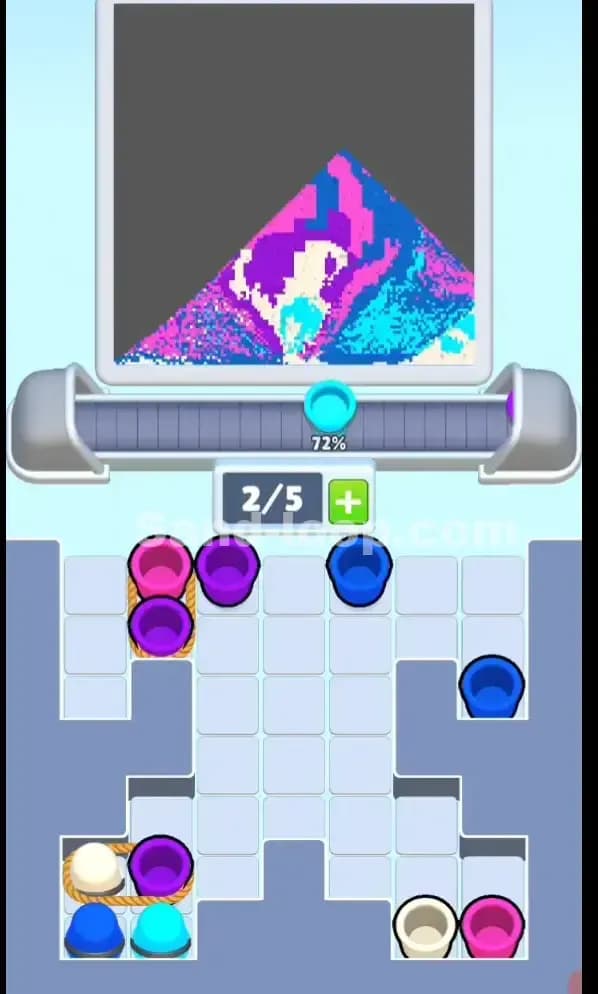
4. The Final Cyan Flood
When the bottom 15-HP Ice Block finally shatters, it releases a stash of Cyan and White cups.
- By this point, your canvas should be mostly done with the Octopus (Pink/Purple) and ready for the background water.
- Unload the center column rapidly. Since these are mostly background colors (Cyan/Blue), you can often pour them in continuous streams without worrying too much about precision, provided the octopus is already finished.