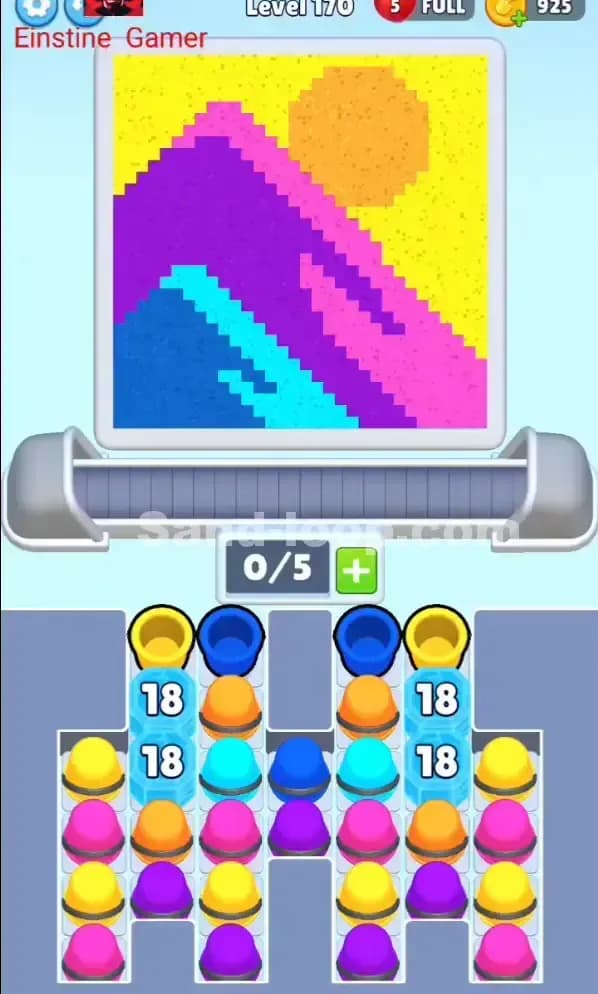
Sand Loop Level 171 Solution Walkthrough | Sand Loop 171

How to solve Sand Loop level 171? Get instant solution for Sand Loop 171 with our step by step solution & video walkthrough.

Share Sand Loop Level 171 Guide:
Sand Loop Level 171 Gameplay
Sand Loop Level 171 Solution 1
Sand Loop Level 171 Solution 2
Sand Loop Level 171 Solution 3

Sand Loop Level 171 Snapshot

Canvas and Color Goals

Sand Loop Level 171 presents a charming pixel-art duck illustration sitting against a bright blue sky. The main subject is a cream/beige duck with vibrant orange and yellow accents (beak, feet, wing details), flanked by magenta/pink wings and set against a blue water backdrop with pink water ripples. The canvas is split into distinct color regions: a dominant cool blue sky taking up the upper half, cream/beige for the duck's body, orange for details, and magenta pink for the wings and water. You're looking at a level that requires precise control across at least four major colors without overshooting any single one—this means the color economy is tight.

Starting Setup and Slot Capacity

You begin Sand Loop Level 171 with a conveyor belt capacity of 0/5 slots. This tight starting inventory means you're working with only five cup spaces before the belt jams. Looking at your available cups, you've got immediate access to magenta, blue, orange, and cream/beige cups in the top tray, with various stacks beneath. The cream cup is partially blocked by a pink cup, and several mystery cups lurk in the lower tray (marked with question marks). Your first challenge is deciding which colors to load immediately and which to leave behind while you unblock the critical cups needed for mid-level precision.

Win Condition

To beat Sand Loop Level 171, you must fill the duck and water scene by meeting all color progress targets simultaneously. Overfilling the blue sky early will lock you out of finishing the pink wings. Dumping too much cream too fast wastes coverage. You need to choreograph your cup selection, timing, and pouring rhythm so that each color reaches completion right before you run out of material—no excess, minimal waste.


Why Sand Loop 171 Feels Hard (The Actual Bottleneck)

The Real Problem: Blocked Cream Supply

Sand Loop Level 171 looks deceptively simple at first, but the moment you start playing you realize cream (the duck's body color) is your scarce resource. The cream cups are stacked and partially buried under pink cups in the middle tray. You can't just pour cream freely; you have to carefully unblock the stack while keeping your 5-slot belt from overflowing. If you load too many colors before freeing cream, you'll jam your conveyor and waste moves trying to cycle out unwanted cups. This is the bottleneck.

Three Common Traps

Trap One: The Blue Sky Trap. Blue is your largest color by area, and it's tempting to load multiple blue cups early to "get it done." But if you oversaturate the blue region too early, your meter fills past the sweet spot and you can't backtrack. You end up with pink and magenta still waiting while blue sits at 110% complete. I've choked the pacing here twice, and it always costs me an extra run or a booster.

Trap Two: Pink Pile-Up. Magenta and pink cups dominate your top tray. You can load them instantly, which feels efficient, but loading both at once without controlling the pace means your pink wings meter spikes to completion before you've even started the cream. Then you're forced to hold back and watch your belt sit empty—wasted time and slot space.

Trap Three: Mystery Cup Gamble. The unknown cups in the lower tray could be duplicate colors or surprises. If you greedily unlock them without a plan, you might pull a second blue or a third magenta that throws off your entire sequence.

Why It Feels Hard

Sand Loop Level 171 looks manageable because the art is cute and the color count is low. But the moment you load your first cup, you realize the margin for error is razor-thin. The 5-slot limit forces you to think like a rhythm game: you can't just tap pouring whenever; you have to anticipate conveyor lead time, calculate when to leave gaps, and resist the urge to "fill quickly" with the colors you have.


Step-by-Step Walkthrough to Beat Sand Loop Level 171

Opening Rhythm: First Five Moves

Start by loading your belt in this precise order: magenta, blue, orange, cream, magenta. This gives you a balanced spread and respects the 5-slot cap. Here's why: magenta and pink are your wings (secondary but sizable), so you get them moving early. Blue is your sky and must flow steadily to avoid spikes. Orange is small and can be tucked in the middle. Cream is your protagonist color and deserves a slot early so it's "in motion" while you unblock more cream from the tray.

As soon as you've loaded all five, don't tap pour immediately. Let the belt advance one or two positions to build conveyor lead time. Then pour the first cup (magenta). The crucial rule: always maintain a 1-slot gap. After you pour magenta and the belt shifts, immediately tap a sixth cup from the tray—a cream cup—to fill the void before the belt deadlocks.

Unblocking Plan: Freeing Cream Without Jamming

Here's the exact unblocking sequence for Sand Loop Level 171. Your cream cups are under pink cups in the center stack. Rather than greedily grabbing all cream at once, unblock them one or two at a time.

After your first pour (magenta), tap the cream cup directly beneath the pink obstruction. As you cycle through the first five cups and pour, aim to pop out one cream cup per three pour actions. This keeps your tray from jamming while your conveyor belt stays fluid.

Once you've cleared the first cream, your belt should look like: blue, orange, cream (from tray), magenta, blank. Now pour blue. The belt shifts, and you immediately load the next cream. Repeat this rhythm: pour → shift → load next color. By the time you've cycled through your opening sequence twice, you'll have freed 2–3 cream cups and your belt will have a steady flow.

Mid-Game Control: Pacing the Pour

Sand Loop Level 171 is won or lost in the middle 30–70% because this is where color meters start climbing fast and mistakes become permanent.

Monitor the canvas meters constantly. As your magenta and pink pour, watch their progress bars. Aim to keep them under 75% until blue hits 50%. This stagger prevents any color from finishing too early. If blue is climbing faster than planned, leave a gap: don't load a blue cup on your next available slot. Instead, load cream or orange. This throttles blue's flow and buys you time to catch up with other colors.

Keep one slot perpetually free. This is non-negotiable. If your belt ever fills all five slots and the conveyor jams, you're either forced to pour a color you didn't want or restart. Always prioritize leaving that empty slot, even if it means waiting a beat before loading your next cup.

Peel cream steadily throughout mid-game. Don't hoard it. You should be pouring cream roughly once every three pours. This keeps the duck's body color distributed evenly across the level and prevents a color-shock at the end where you suddenly need 30% more cream all at once.

End-Game Precision: The Final 10–20%

As you approach the finish line, your pouring tempo changes. Slow down deliberately. If your blue sky is at 85%, stop loading blue entirely until pink catches up. Check the meters after every single pour. Sand Loop Level 171's finish is tight—you might have only 1–2 pours of margin before overshoot.

In the last few cups, you're often in a situation where you need a specific color, but the tray won't give it to you without unblocking something else first. Plan your final taps: if you need one last cream and it's buried, spend one action unblocking it, then immediately load it. Your last pour should bring every color to 100% simultaneously, or within one pour of it.

If You Mess Up: Recovery Tactics

You've overpoured blue and it's at 110%. Don't panic. Check if you have a booster available (like an Undo or a Slot+). If you don't, your run is likely done; restart is faster than fighting back from 110% blue. But if you made the mistake earlier (say, at the 40% mark), an Undo booster can reverse your last 2–3 pours and save the run.

If you jam your belt (all five slots full, can't load, can't pour), immediately look for a gap you can create. Sometimes you load a color you don't want, pour it preemptively, and then load what you actually needed. It's wasteful but better than a reset.

If you run out of a color (e.g., all cream cups are in the belt already and you need more), check your mystery cups. Unknown cups sometimes are the color you need. Unblock one and load it. If it's a duplicate you don't want, you'll feel that sting—but that's a risk of the mystery mechanic.


Why This Strategy Works in Sand Loop Level 171

Conveyor Lead Time + Slot Economy

The step-by-step walkthrough for Sand Loop Level 171 works because it respects the fundamental physics of the game: a cup you tap now reaches the pour point two to three positions later. By loading five cups and then pouring the oldest, you're always giving the conveyor time to advance while you plan the next cup. The perpetual free slot prevents deadlock and keeps your decision window open. You're never panicked, never forced into a bad choice.

Preventing Waste and Overshoot

The staggered loading and color-monitoring approach prevents the classic failure mode: one color overshoots while others lag. By deliberately throttling blue (the largest color), leaving gaps when a meter spikes, and steady-streaming cream, you achieve a balanced pour arc. Sand Loop Level 171 doesn't reward speed; it rewards patience and predictability. A consistent rhythm beats a chaotic rush.

Consistency Under Pressure

If your version of Sand Loop Level 171 has move limits or attempt caps, this strategy keeps every run remarkably similar. You're following a repeatable cadence: load, pour, unblock, load, pour. You're not improvising frantically in the last 20%. You've already won or lost by the mid-game, so your last pours are just crossing the finish line. This consistency means fewer failed runs and less frustration.


Extra Tips and Adaptations for Levels Like Sand Loop Level 171

Six Mistakes and How to Fix Them

  1. "I loaded all the magenta at the start because it's easy." Fix: Spread magenta across the level. Load one, pour it, move on. Magenta is plentiful; don't waste slots on volume.

  2. "I didn't plan the unblocking sequence and suddenly couldn't access cream." Fix: Before you pour, scan the tray. Know which cups are blocked and estimate how many pours it'll take to free them. Plan three moves ahead.

  3. "I filled the belt to capacity and then couldn't move without pouring." Fix: Always leave a gap. Even if you're waiting for a specific cup to unblock, accept the empty slot. It's worth the delay to stay flexible.

  4. "I poured blue three times in a row and now blue is done but pink isn't." Fix: After every pour, glance at the meters. If one color is ahead by more than 20%, don't load it next. Rotate through your colors.

  5. "A mystery cup turned out to be a duplicate of something I already finished." Fix: Evaluate mystery cups carefully. If you're already at 90% on a color, don't risk an unknown cup—leave it buried and focus on colors still climbing.

  6. "I ran out of cups and the painting isn't done." Fix: This means you wasted pours or miscalculated your color distribution. Sand Loop Level 171 has exactly enough material to win if you don't overshoot. If you're short, you overshot a color earlier. Restart with more caution.

Booster Moments (Use Only When Truly Needed)

If you have an Undo booster and you've just made a pour that sent a color from 85% to 120%, use it immediately. Undo is most valuable in the last 40% of a level when the metrics are tight.

An Extra Slot booster (+1 to your conveyor capacity, making it 6/5 temporarily) is most useful if you've discovered that you've been perpetually one slot short. Use it during the mid-game, not the finish, so you have breathing room to execute the final color sequence cleanly.

A Slow Belt booster (delays conveyor progression) is less critical for Sand Loop Level 171, but it helps if you're struggling with lead-time precision. You get more time to react before each cup reaches the pour point.

Encouragement and Next Steps

Sand Loop Level 171 is tough but absolutely beatable with patience and a clear mental map. Once you've cleared it once, subsequent runs become muscle memory—you'll recognize the rhythm, anticipate the unblocking points, and finish faster each time. If you're still struggling after two or three attempts, don't hesitate to check sand-loop.com for video walkthroughs and community solutions. Every player gets stuck somewhere, and Sand Loop Level 171 is a classic "difficulty spike" level that responds beautifully to deliberate, methodical play.

You've got this. Load that first magenta, keep your slot free, and trust the rhythm.