Sand Loop Level 170 Solution Walkthrough | Sand Loop 170
How to solve Sand Loop level 170? Get instant solution for Sand Loop 170 with our step by step solution & video walkthrough.

Sand Loop Level 170 Guide: The Synthwave Sunset Puzzle
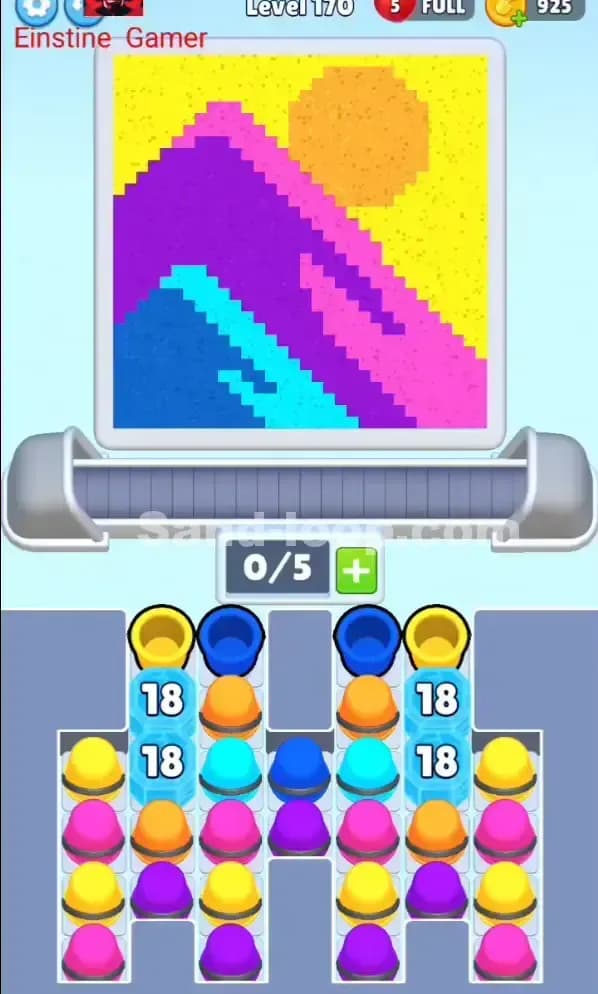
This is a logic-heavy level disguised as a pretty picture. The artwork is a "Synthwave Sunset"—a purple mountain range against a pixelated yellow sky, with a bright orange sun and cyan water reflections.
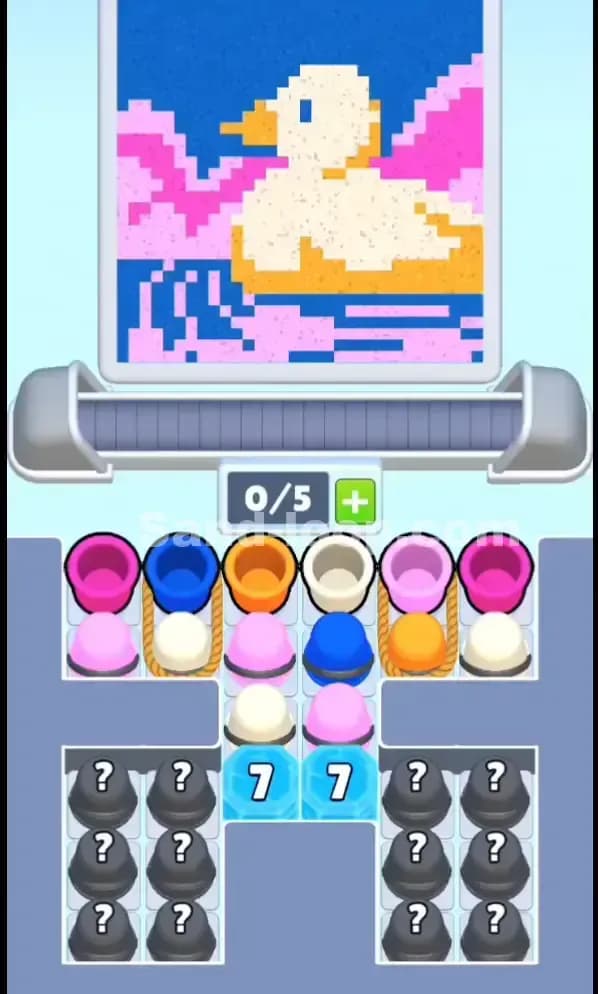
The hook here isn't the colors, which are distinct and easy to tell apart. The hook is the two massive Ice Blocks sitting in your supply tray. They have a durability of "18," which is incredibly high for this stage of the game. These blocks completely wall off your supply of Orange and Purple cups, forcing you to paint the "easy" parts of the picture while blindly grinding down those counters to unlock the rest.
Sand Loop Level 170 Solution: The Mountain & The Sun
Take a hard look at the color distribution in the pixel art.
- Yellow: Dominates the upper sky and background. You need a lot of this early.
- Cyan & Blue: The bottom left corner (water). These are accessible from the start.
- Pink: Used for the highlights on the mountain slopes.
- Purple: The dark base of the mountain. Crucial, but scarce early on.
- Orange: The sun. This is your "Boss Fight" color—it is buried deepest in the tray.
The Danger Zones: The biggest mistake players make is trying to force the mountain (Purple) too early. Because the Purple cups are largely trapped behind the Ice Blocks, you will run out of slots if you try to hoard them. You must focus on the background (Yellow) and the foreground water (Cyan) to churn through enough cups to break the ice.
Tackling the "18" Ice Blocks in Sand Loop Level 170
The defining obstacle of Level 170 is the pair of Ice Blocks labeled "18".
These aren't standard barriers. They are located in the inner columns of the left and right stacks.
- What they block: They are sitting directly on top of your Orange (Sun) and Purple (Mountain Base) supplies.
- How to break them: The number 18 refers to the number of cups you must clear from the active columns to shatter the ice. Every time you successfully fill and clear a cup from the open columns (Far Left, Far Right, and Center), that number ticks down.
You essentially have to play a speed game with the Yellow and Blue cups to "mine" your way to the Orange cups. If you play too slowly or clog your 5 slots with useless cups, you'll never get that count to zero.
Sand Loop Level 170 Step-by-Step Walkthrough
1. The Early Game: Flanking Maneuver
At the start, ignore the blocked inner columns. You can't touch them. Your supply is limited to:
- Far Left/Right Columns: These hold Yellow and Pink cups.
- Center Column: This holds Blue and Cyan cups.
Immediately pull the top Yellow cups from the far edges. Get them onto the conveyor to start filling the massive yellow sky. While they are filling, pull the Blue/Cyan cups from the center. These are for the water in the bottom left.
Do not hoard Pinks yet. Even though you see pink in the mountain, you don't have the Purple base to support it properly. Focus on volume. Clear Yellows and Blues as fast as possible to chip away at the "18" health on the ice blocks.
2. The Mid-Game: Managing the Water
As you churn through the outer columns, you'll start hitting Pink cups. You can send these out now. The pink pixels are scattered diagonally across the mountain. Since the mountain is the central object, you can paint the pink highlights even if the purple base isn't done yet—sand in this game doesn't require "structural support," it just needs to hit the right pixel.
Keep an eye on the Cyan water. The water section is small compared to the sky. Once you finish the blue/cyan bottom corner, stop pulling blue cups. If you keep pulling them, they will clog your 5-slot limit because they have nowhere to empty.
3. Breaking the Ice & The Orange Sun
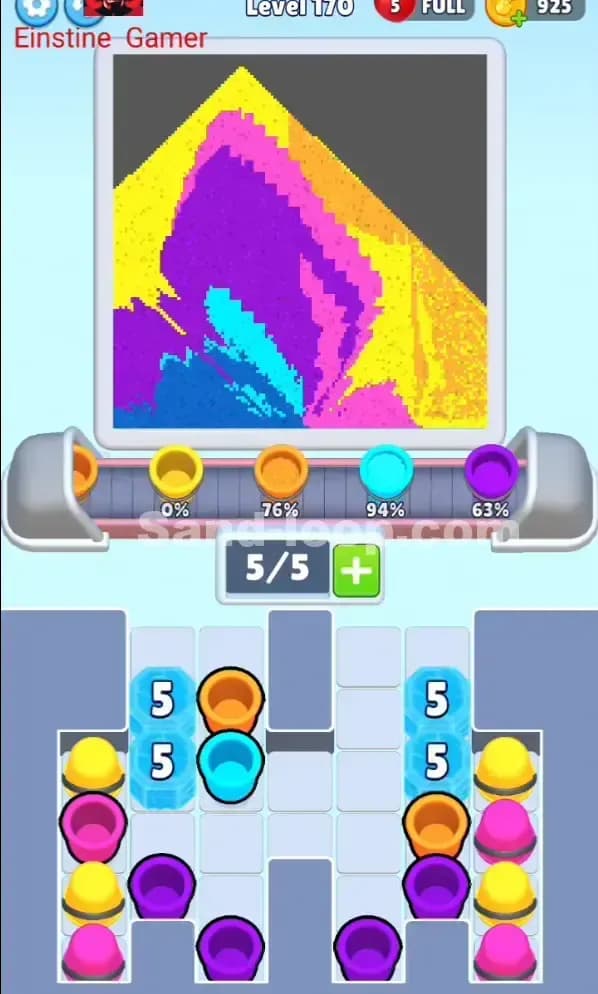
Around the time the sky is 70% done, those "18" counters should hit zero. The ice will shatter, finally unlocking the Orange and Purple cups.
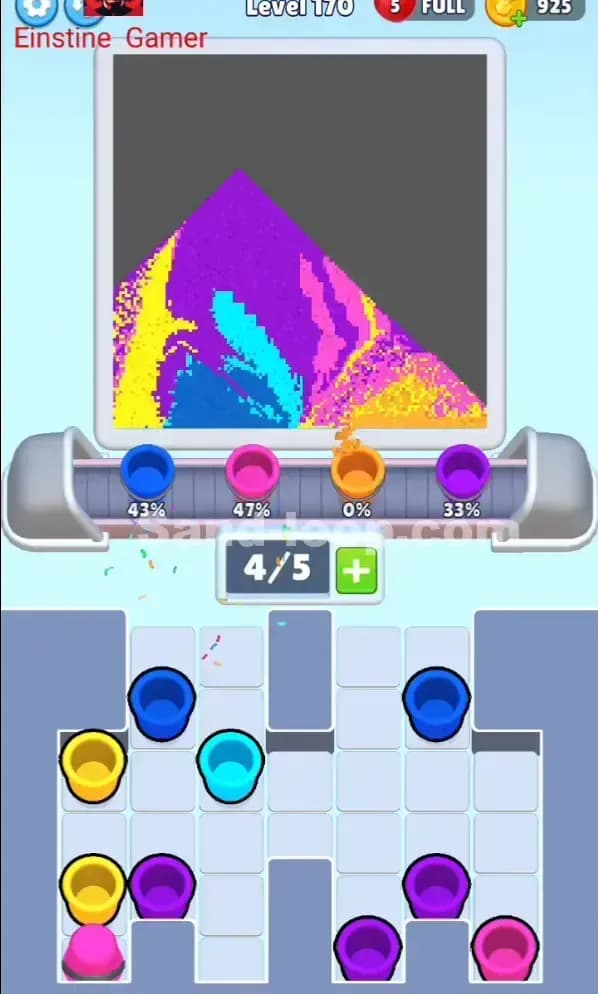
- Purple Rush: You likely have a huge empty black triangle in the middle of your canvas. Flood the conveyor with Purple cups immediately.
- The Sun Trap: The Orange cups are for the sun in the top right. Wait until the yellow sky around the sun is mostly finished. If you send Orange cups too early, they might catch stray yellow pixels or miss the sun entirely if the timing is off.
Use the gap logic here: Load a Purple cup, leave a small gap, then load an Orange cup. This ensures the Purple catches the mountain pour, and the Orange arrives just as the nozzle moves to the sun area.