Sand Loop Level 172 Solution Walkthrough | Sand Loop 172
How to solve Sand Loop level 172? Get instant solution for Sand Loop 172 with our step by step solution & video walkthrough.


Sand Loop Level 172 Guide: The Autumn Phoenix Puzzle
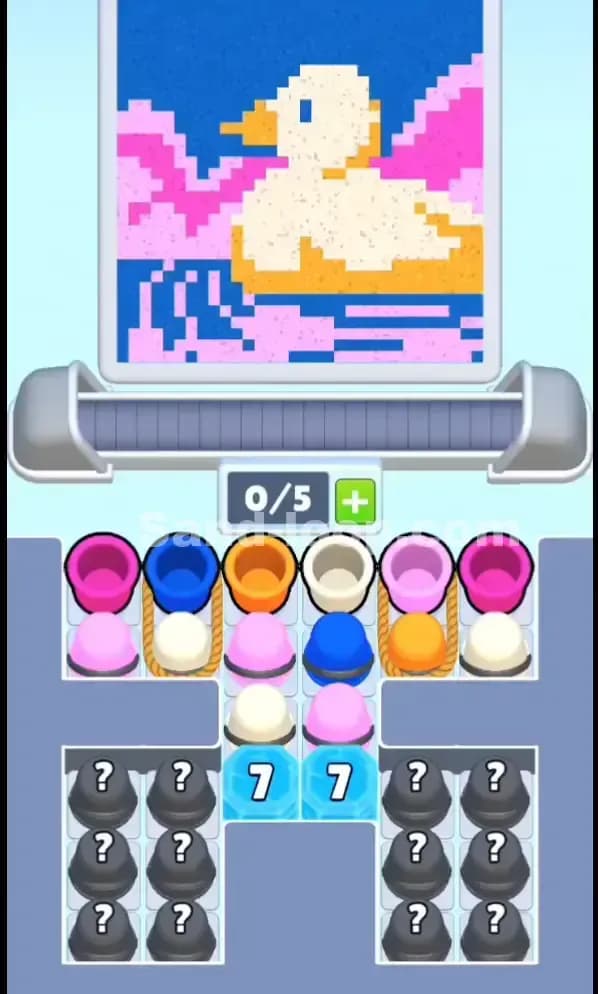
This isn't a speed level. It’s a pure resource management grind. The artwork is a fiery Autumn Phoenix (or perhaps a burning forest scene) set against a pale background. The challenge? You have a strictly limited slot capacity of 0/5, massive Ice Blocks blocking your lower inventory, and a color palette that loves to overlap.
The hook here is the Ice Block HP. You are staring at blocks with 15 and 20 hit points. This means you cannot just clear colors randomly; you have to aggressively target the cups adjacent to those blocks to break them before you run out of moves or space. If you play passively, you will deadlock with a full tray and no access to the colors you actually need.
Sand Loop Level 172 Solution: The Phoenix Fire Palette
Let's break down the image you are painting. It's a warm-toned, pixelated bird or forest scene.
- Color Palette Deep Dive: The dominant colors are Red, Orange, Yellow, Dark Maroon/Brown, and White/Cream.
- The "Danger Zones": The trees. Specifically, the dark vertical lines (Maroon) and the scattered red pixels at the top. The background is mostly red and orange, but the internal details (the "fire") require precise yellow and white placement. The biggest danger is the white sections. They are small and surrounded by yellow. If you pour yellow too long, you'll ruin the white space.
- Fill Order Prediction: You will likely paint the large swaths of Red and Orange first to clear the bulk of the canvas. The detailed Yellow and White pixels in the center will come later, once you have cracked the lower inventory open.
Tackling the Ice Blockade in Sand Loop Level 172
The main obstacle in Sand Loop 172 is the Four-Pillar Ice Defense. You have two upper blocks with 15 HP and two lower blocks with 20 HP.
This structure is nasty. The 15 HP blocks are guarding the middle rows. The 20 HP blocks are effectively locking away the bottom two rows of cups until the very end game.
- How it works: Every time you match a cup adjacent to an ice block, the HP counter drops by 1.
- The Trap: You only have 5 slots on the conveyor belt. If you pull cups that don't touch the ice, you are wasting slots. You need to prioritize pulling cups that are physically touching those blue numbered hexagons. The top row of cups (White, Orange, Red, White, Red) sits directly on top of the "15" blocks. These must be your primary ammo.
Sand Loop Level 172 Step-by-Step Walkthrough
This level forces a specific dependency chain: You must clear the top to break the ice, to reach the bottom.
1. The Initial Ice Breaker
Look at your top row. You have White, Orange, and Red cups available immediately. Do not pull random colors just to fill the belt.
- Focus on the Orange and Red cups in the second row (the ones sitting under the top row but next to the 15 HP blocks).
- Your first few moves should be clearing the top row specifically to expose the cups touching the ice.
- Match the colors touching the "15" blocks. Every match counts. You need 15 matches adjacent to those blocks to shatter them. Prioritize this over filling the picture perfectly.
2. Managing the 5-Slot Limit
You will hit a moment where your belt is full (5/5) but the ice hasn't broken yet. This is the danger zone.
- Check the canvas. Is there a big patch of Red or Orange you can dump?
- Send a "trash run." Load up 3 cups of the same dominant color (Red is usually safe) and let them pour to empty your slots. Even if it's not the most efficient painting move, you need those slots back to keep chipping at the ice.
- Crucial: Do not let a single White or Maroon cup sit on your belt unless you can use it immediately. Those colors are rare and specific. If they clog your 5 slots, you're dead.
3. Cracking the 20 HP Base
Once the 15 HP blocks shatter, the middle inventory opens up. Now you face the 20 HP blocks at the bottom.
- The strategy shifts. You now have access to more Yellows and the Dark Maroons.
- Use the new vertical space to create "columns" of matches. Vertical matches are great here because they feed new cups down to touch the bottom ice blocks.
- Keep an eye on the Dark Maroon cups. These are likely for the "tree trunks" in the artwork. Do not waste them on the background. Save them until the canvas specifically highlights those dark vertical lines.
4. The Final White/Yellow Detail
The center of the Phoenix is a mix of White and Yellow.
- By the time you reach the bottom cups (breaking the 20 HP ice), you should be nearly done with the Red background.
- Be very careful with the White cups. They are usually for the bright center of the fire.
- Gap Technique: When pouring the center, put a gap between your Yellow and White cups on the belt. The "fire" pixels are messy. If the cups are too close, the colors will bleed into the wrong pixels. Give the dispenser a second to reset between the Yellow flames and the White core.