Sand Loop Level 167 Solution Walkthrough | Sand Loop 167
How to solve Sand Loop level 167? Get instant solution for Sand Loop 167 with our step by step solution & video walkthrough.

Sand Loop Level 167 Guide: The Lavender Windmill Puzzle
Sand Loop Level 167 is a stunning visual level, but don't let the pixel art distract you. This level features the "Lavender Windmill," a scenic landscape with a heavy emphasis on tiered colors. It is primarily a Supply Management level. The challenge here isn't speed; it's the strict "bottom-up" filling order. You have a massive amount of purple and pink paint required immediately, but your supply tray is cluttered with blues and whites that you don't need yet.
The hook? The color palette for the flower fields is incredibly similar. You have three distinct shades of violet/pink that must be layered correctly, or the zigzag pattern in the field will look messy.
Sand Loop Level 167 Solution: The Lavender Field
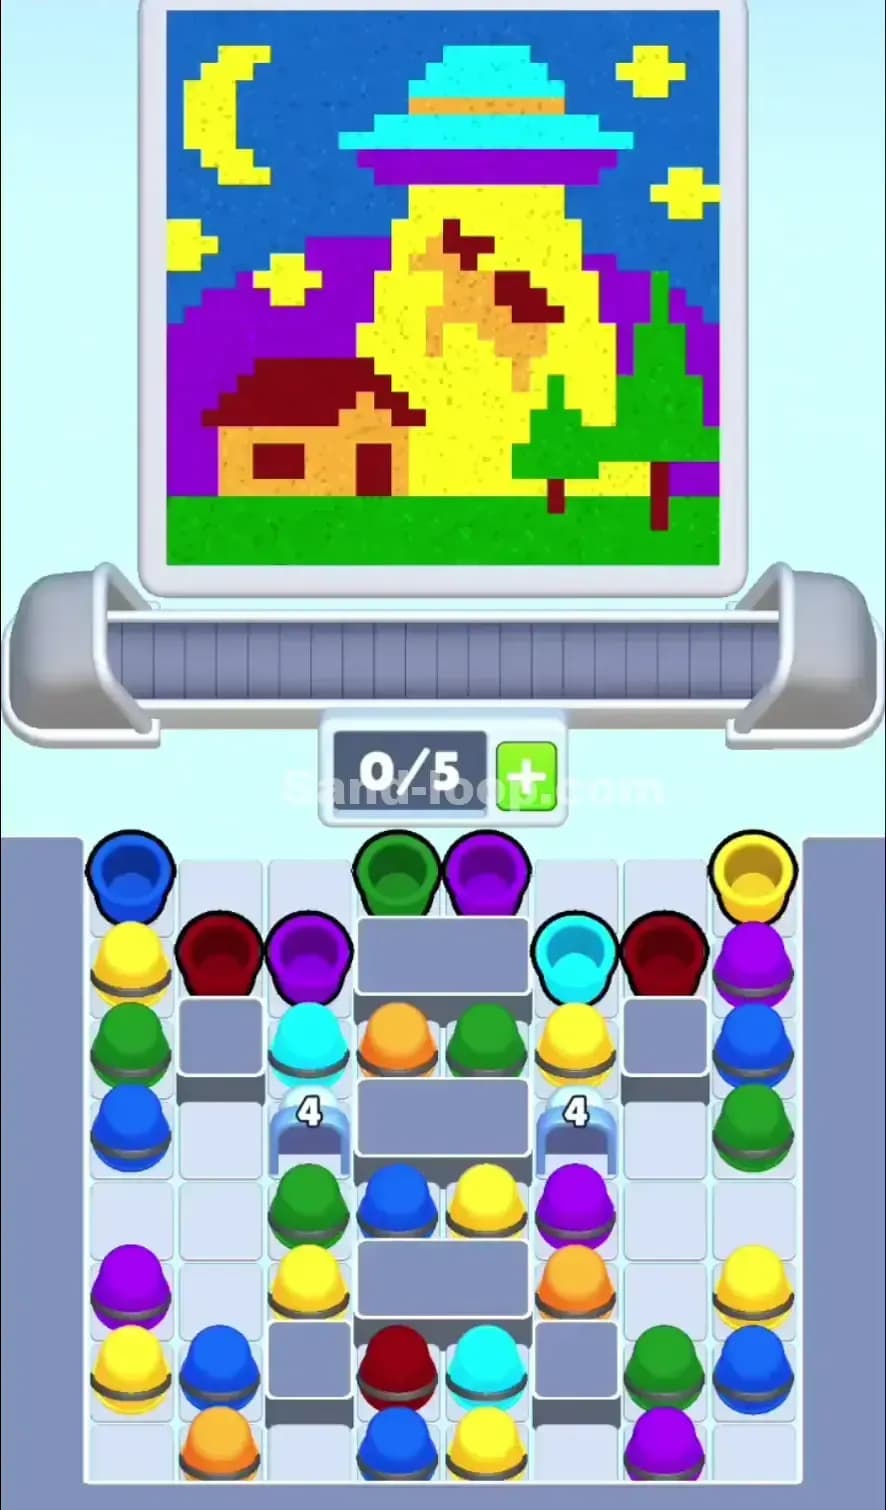
Focus your attention on the provided pixel art target.
- Color Palette Deep Dive: The level demands a specific sequence.
- The Field (Bottom): Deep Purple, Magenta (Hot Pink), and Light Pink.
- The Ground/Building (Middle): Golden Orange and White.
- The Sky (Top): Cyan and White (for clouds).
- The "Danger Zones": The biggest trap is the Sky vs. Clouds section. The windmill blades cut through the sky, and there are white clouds floating in the cyan. If you send your White cups too early while trying to build the windmill, you might accidentally paint a cloud before the sky is ready, creating weird gaps.
- Fill Order Prediction: The physics of Sand Loop 167 dictate a strict vertical fill. You must finish the lavender field (the bottom 40% of the image) before you even think about the orange ground. If you send an Orange cup while the bottom is empty, it's wasted paint.
Tackling the "W-Shape" Blockers in Sand Loop Level 167
The specific obstacle in Sand Loop Level 167 is the Gray Block Structure in the supply tray. Notice the gray squares arranged in a loose "W" shape in the middle of the board. These blockers prevent you from accessing the cups in the center-bottom of the tray.
This creates a Column Dependency. You cannot grab the cups in the middle until you have cleared the cups on the far left and far right. The game forces you to work from the outside in. You are essentially peeling an onion. If you ignore the outer columns (starting with the top-left Purple and top-right Cyan), you will run out of moves because the center cups remain physically blocked by the gray squares.
Sand Loop Level 167 Step-by-Step Walkthrough
1. The Violet Rush (Opening Moves)
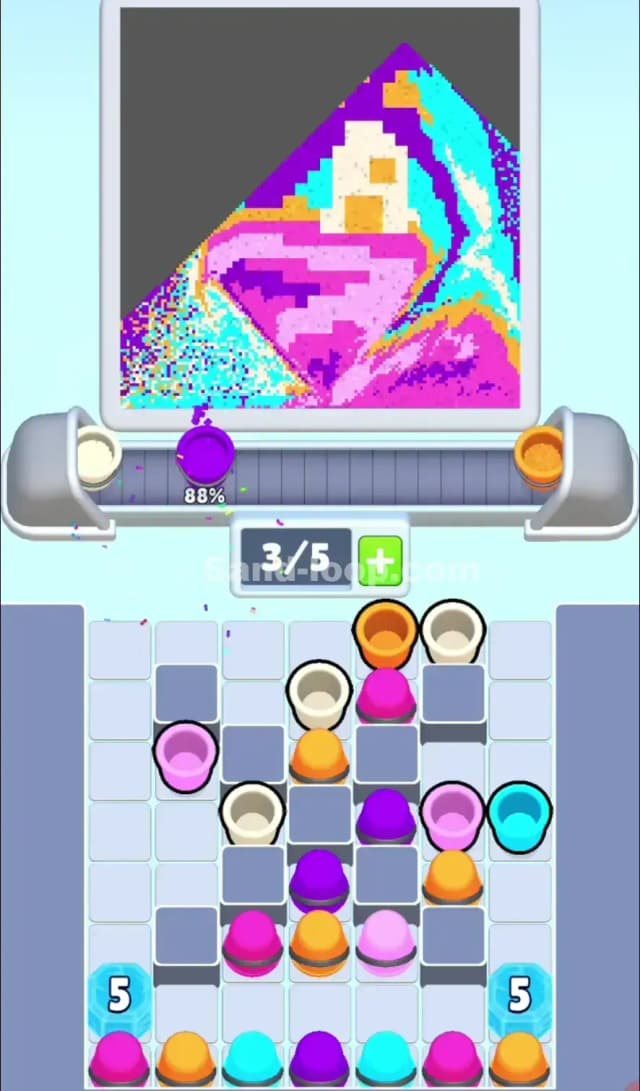
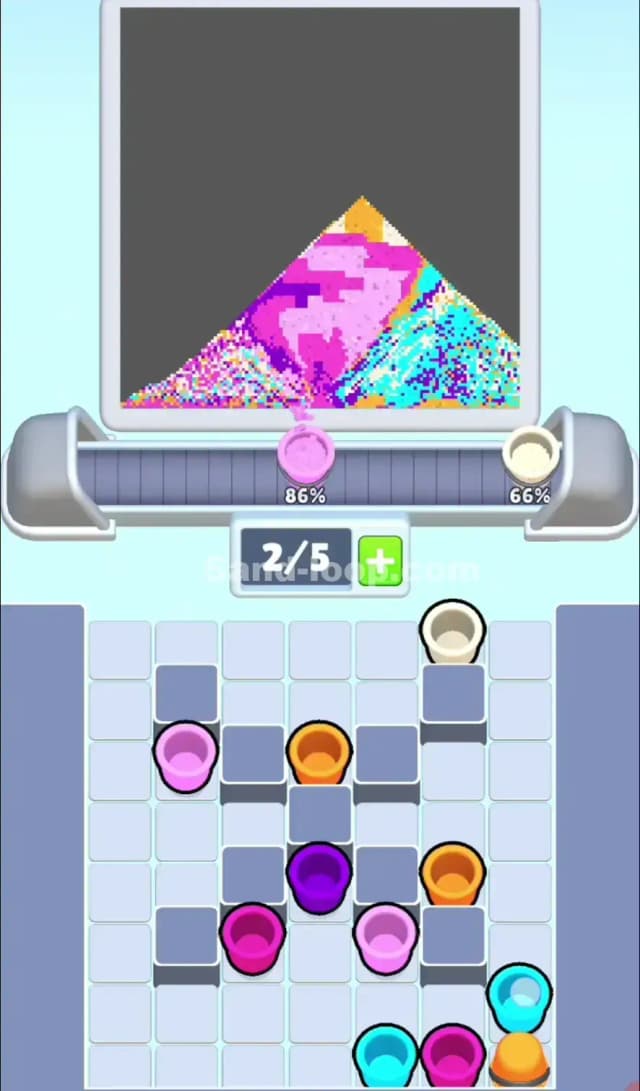
Your first priority is the field. Look at the bottom of the canvas. It is a zigzag pattern of Deep Purple and Magenta.
- Ignore the Cyan cups on the top right for a moment.
- Focus entirely on the Purple and Magenta cups located on the top-left and middle-left of the tray.
- You need to clear these top layers to expose the cups beneath them. Even though there is a Cyan cup available on the top right, sending it now is risky. It's better to clear the Purple/Pink cups to match the bottom-up fill requirement of the canvas.
2. Managing the "18" Ice Blocks
At the bottom corners of the tray, you will see two Ice Blocks marked with the number 18. These act as your endgame supply cache.
- You do not need to "target" these. The number 18 represents a countdown of moves or cleared cups.
- Simply playing the level naturally by clearing the upper cups will whittle this number down.
- Crucial: Do not panic if you run out of Cyan cups for the sky early on. The Ice Blocks are hiding the final reserves of Blue/Cyan cups you need for the top of the image. Just keep clearing the Pinks and Oranges to unlock them.
3. The Horizon Transition
Once the purple field is about 80% done, you need to switch gears to Orange.
- The base of the windmill and the ground line are Orange.
- You will find the Orange cups buried in the second and third layers of the tray.
- Timing Tip: Ensure you send the Orange cups after the Purple/Pink stripes are solid. If you send Orange too early, it might settle into a hole in the field, ruining the pattern.
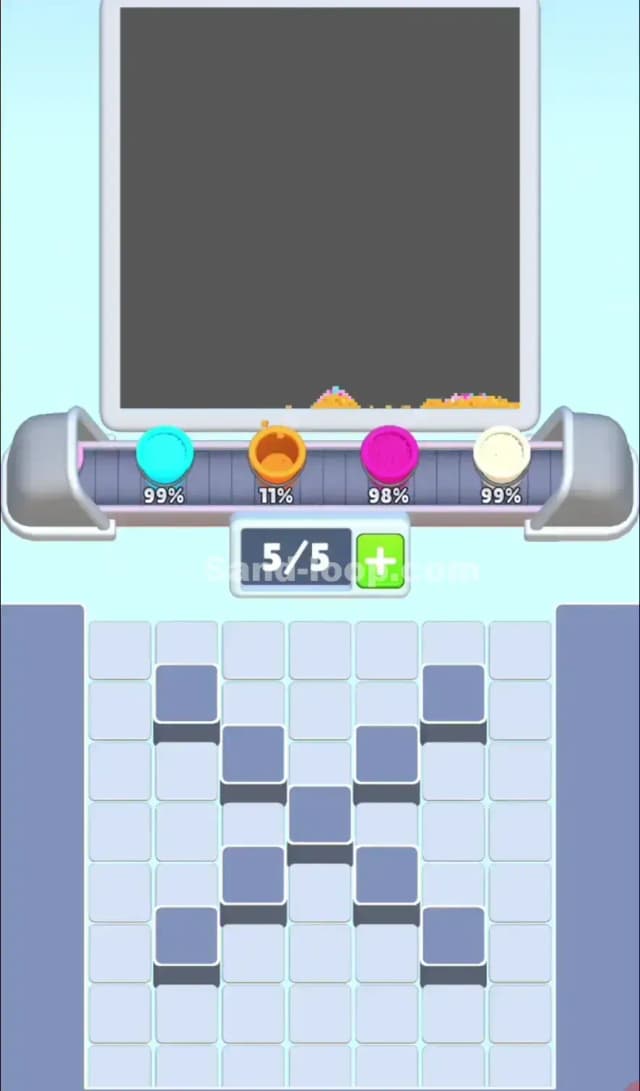
4. The Sky and Windmill Finale
By now, the "18" count on the ice blocks should be zero, shattering the ice and revealing the bottom corner cups.
- Now is the time to alternate Cyan and White.
- The White cups are for the windmill body and the clouds. The Cyan is for the sky.
- Since the sky is the background, try to send your White cups slightly ahead of the Cyan ones so the windmill structure (the blades) forms clearly against the blue backdrop. Clear the remaining cups to finish the masterpiece.