Sand Loop Level 169 Solution Walkthrough | Sand Loop 169
How to solve Sand Loop level 169? Get instant solution for Sand Loop 169 with our step by step solution & video walkthrough.


Sand Loop Level 169 Guide: The White Cat Puzzle
This level features a pixel art rendition of a white cat (or fox creature) sitting amidst yellow and blue structures. It’s definitely a logic level, not a speed run. The challenge here isn't just dumping sand; it's navigating a heavily blocked tray. You have multiple locked sections, "mystery" cups, and a massive Ice Block that demands attention right from the start.
The hook for Sand Loop Level 169 is the sheer number of obstacles in the tray. You have a "30" count Ice Block, two separate key locks, and "mystery" gray cups that hide their true colors until you use them. Managing your 5-slot conveyor capacity is critical because you can't just spam cups to clear the locks.
Sand Loop Level 169 Solution: The White Cat Canvas
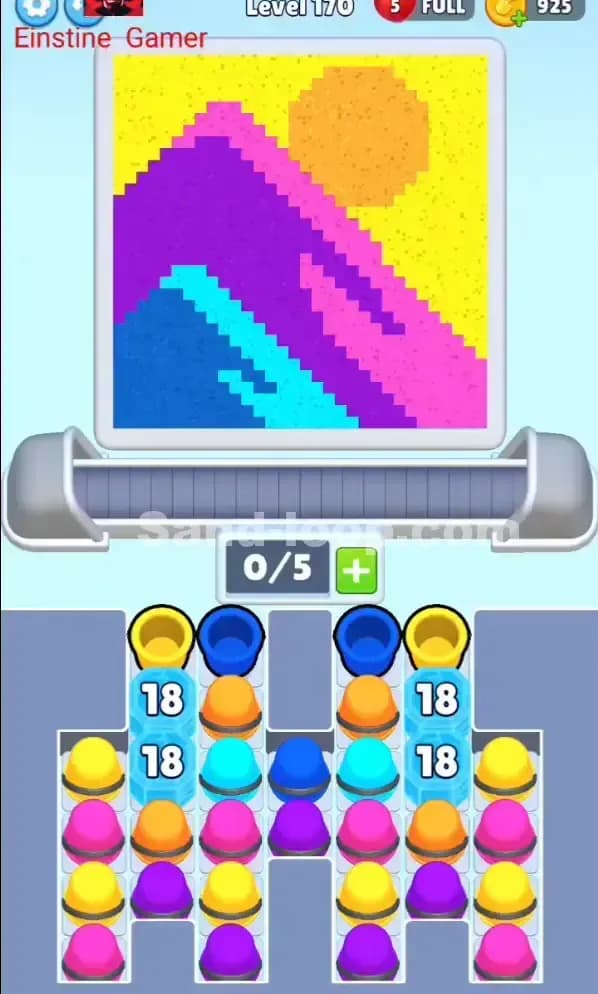
Let's look at what we are painting. The top screen shows a complex layering of colors.
- Color Palette Deep Dive: The primary colors are White (the cat's body), Cyan (eyes and scarf/details), Yellow (background/ground), Orange (upper background details), and Dark Blue (structural outlines).
- The "Danger Zones": The cat's face is the biggest risk. The cyan eyes are small details surrounded by white. If you mistime a Cyan cup while the white body is filling, you’ll ruin the face. Conversely, pouring white while the cyan "scarf" area is active will blot out the details.
- Fill Order Prediction: You generally want to establish the large White body sections first or in tandem with the Dark Blue outlines. The Cyan details are sparse and should be treated as "precision pours"—don't load them back-to-back with unrelated colors unless you have a clear gap.
Tackling the [Ice Block 30] in Sand Loop Level 169
The most glaring obstacle in the tray is the Cyan Ice Block with the number 30 on the right side.
This block is a "hit counter" lock. It doesn't need a specific key; it needs activity. Every time you successfully place a cup on the conveyor belt (or a cup leaves the tray), the counter goes down. It sits directly on top of crucial Orange and White cups you'll need for the mid-game.
You cannot ignore this. Until that block shatters, you are effectively playing with half a tray. You must cycle cups rapidly on the left side to chip this number down, even if the colors aren't perfect immediately. Prioritize clearing the left side to keep the "count" dropping.
Sand Loop Level 169 Step-by-Step Walkthrough
This level is a dependency chain nightmare. The Blue Key is locked behind layers of cups. The Gold Key is buried deep in the middle. Here is the order of operations to survive.
1. Clearing the Top Left "Free" Cups
Your first moves are dictated by the only free cups available: the White, Dark Blue, Cyan, and Yellow cups in the top-left quadrant.
- Load the White and Dark Blue cups first. These match the bottom of the canvas (the blue structure and white base).
- As you clear these top rows, you will expose the Mystery (Gray) Cups. These usually turn into colors you need immediately. Don't be afraid of them.
- Crucial Tip: Watch the "30" counter on the right. Every cup you send reduces that number. Keep the conveyor moving. Do not let it sit empty.
2. The Blue Key Priority
Look at the bottom left. There is a Blue Lock. The Blue Key is hiding in the bottom right corner of the tray.
- You cannot reach the Blue Key until you clear the columns above it. This means you must aggressively use the cups in the right-hand columns (once the Ice Block breaks or counting down allows access to adjacent cups).
- Focus on clearing the vertical line of cups above the Blue Key. You need that lock open to access the Yellow cups trapped behind it.
3. Navigating the "T-Shape" Grey Blocker
In the middle of the tray, there is a large, grey, T-shaped static blocker. It doesn't move. It splits your tray into a "Left Zone" and a "Right Zone."
- This blocker makes it hard to grab cups from the middle. You have to work the edges.
- The Gold Key Trap: The Gold Key is wedged right under the left arm of this T-blocker. It unlocks the horizontal bar blocking the bottom right. You often get the Gold Key after you've done significant work on the left side. Don't obsess over it too early; focusing on the Blue Key is usually more productive first.
4. Precision Painting: Cyan vs. White
Once you have the tray flowing and the locks are opening, the painting gets tricky.
- The cat has Cyan lines running through the White body.
- Do not send a long stream of White cups followed immediately by a Cyan cup without a gap. The delay in Sand Loop means the White sand might still be falling when the nozzle switches to the Cyan position, resulting in messy mixed pixels.
- Strategy: Send 2-3 White cups. Wait for a "tick" (a small gap on the belt). Then send the Cyan cup. This ensures the nozzle has time to reset for the detail work.
5. Finalizing the Orange/Yellow Background
The last phase usually involves the heavy Orange and Yellow cups that were trapped under the Ice Block or behind the Gold Bar.
- These fill the upper corners of the image.
- By this point, your "Current/Total" capacity should be easy to manage. Just keep an eye on the top edges of the canvas. If the corners aren't filling, you likely need more Orange. If the ground isn't finishing, you need Yellow.
Keep your slots open (try to keep 1/5 or 2/5 capacity free) so you can quickly grab a specific color if you realize you missed a spot on the cat's eye! Good luck with Sand Loop Level 169.